

Fort William has Ben Nevis. Pitlochry has Ben Vrackie. Auchterarder has Craig Rossie. Even the smallest of village usually has a local hill, even if it’s pimple sized, which stands guard over the population. Bridge of Earn has a few. Which is handy as we are still unable to travel for leisure much beyond 5 miles from home. This is the second of my grid square journeys and after West Dron Hill last time out, I moved a couple of hills east to Balmanno Hill. Find out more about grid square journeys at https://challengekev.blog/2020/05/30/grid-square-journeys-no-1-no-1114/.
I ran my finger over the paper map to find an appropriate square to explore. Not easy actually, and I’ll talk more about that later. Once I’d chosen my walking venue for the day, I got my gear ready and pulled the bike out of the garage. Here is where I was going here.

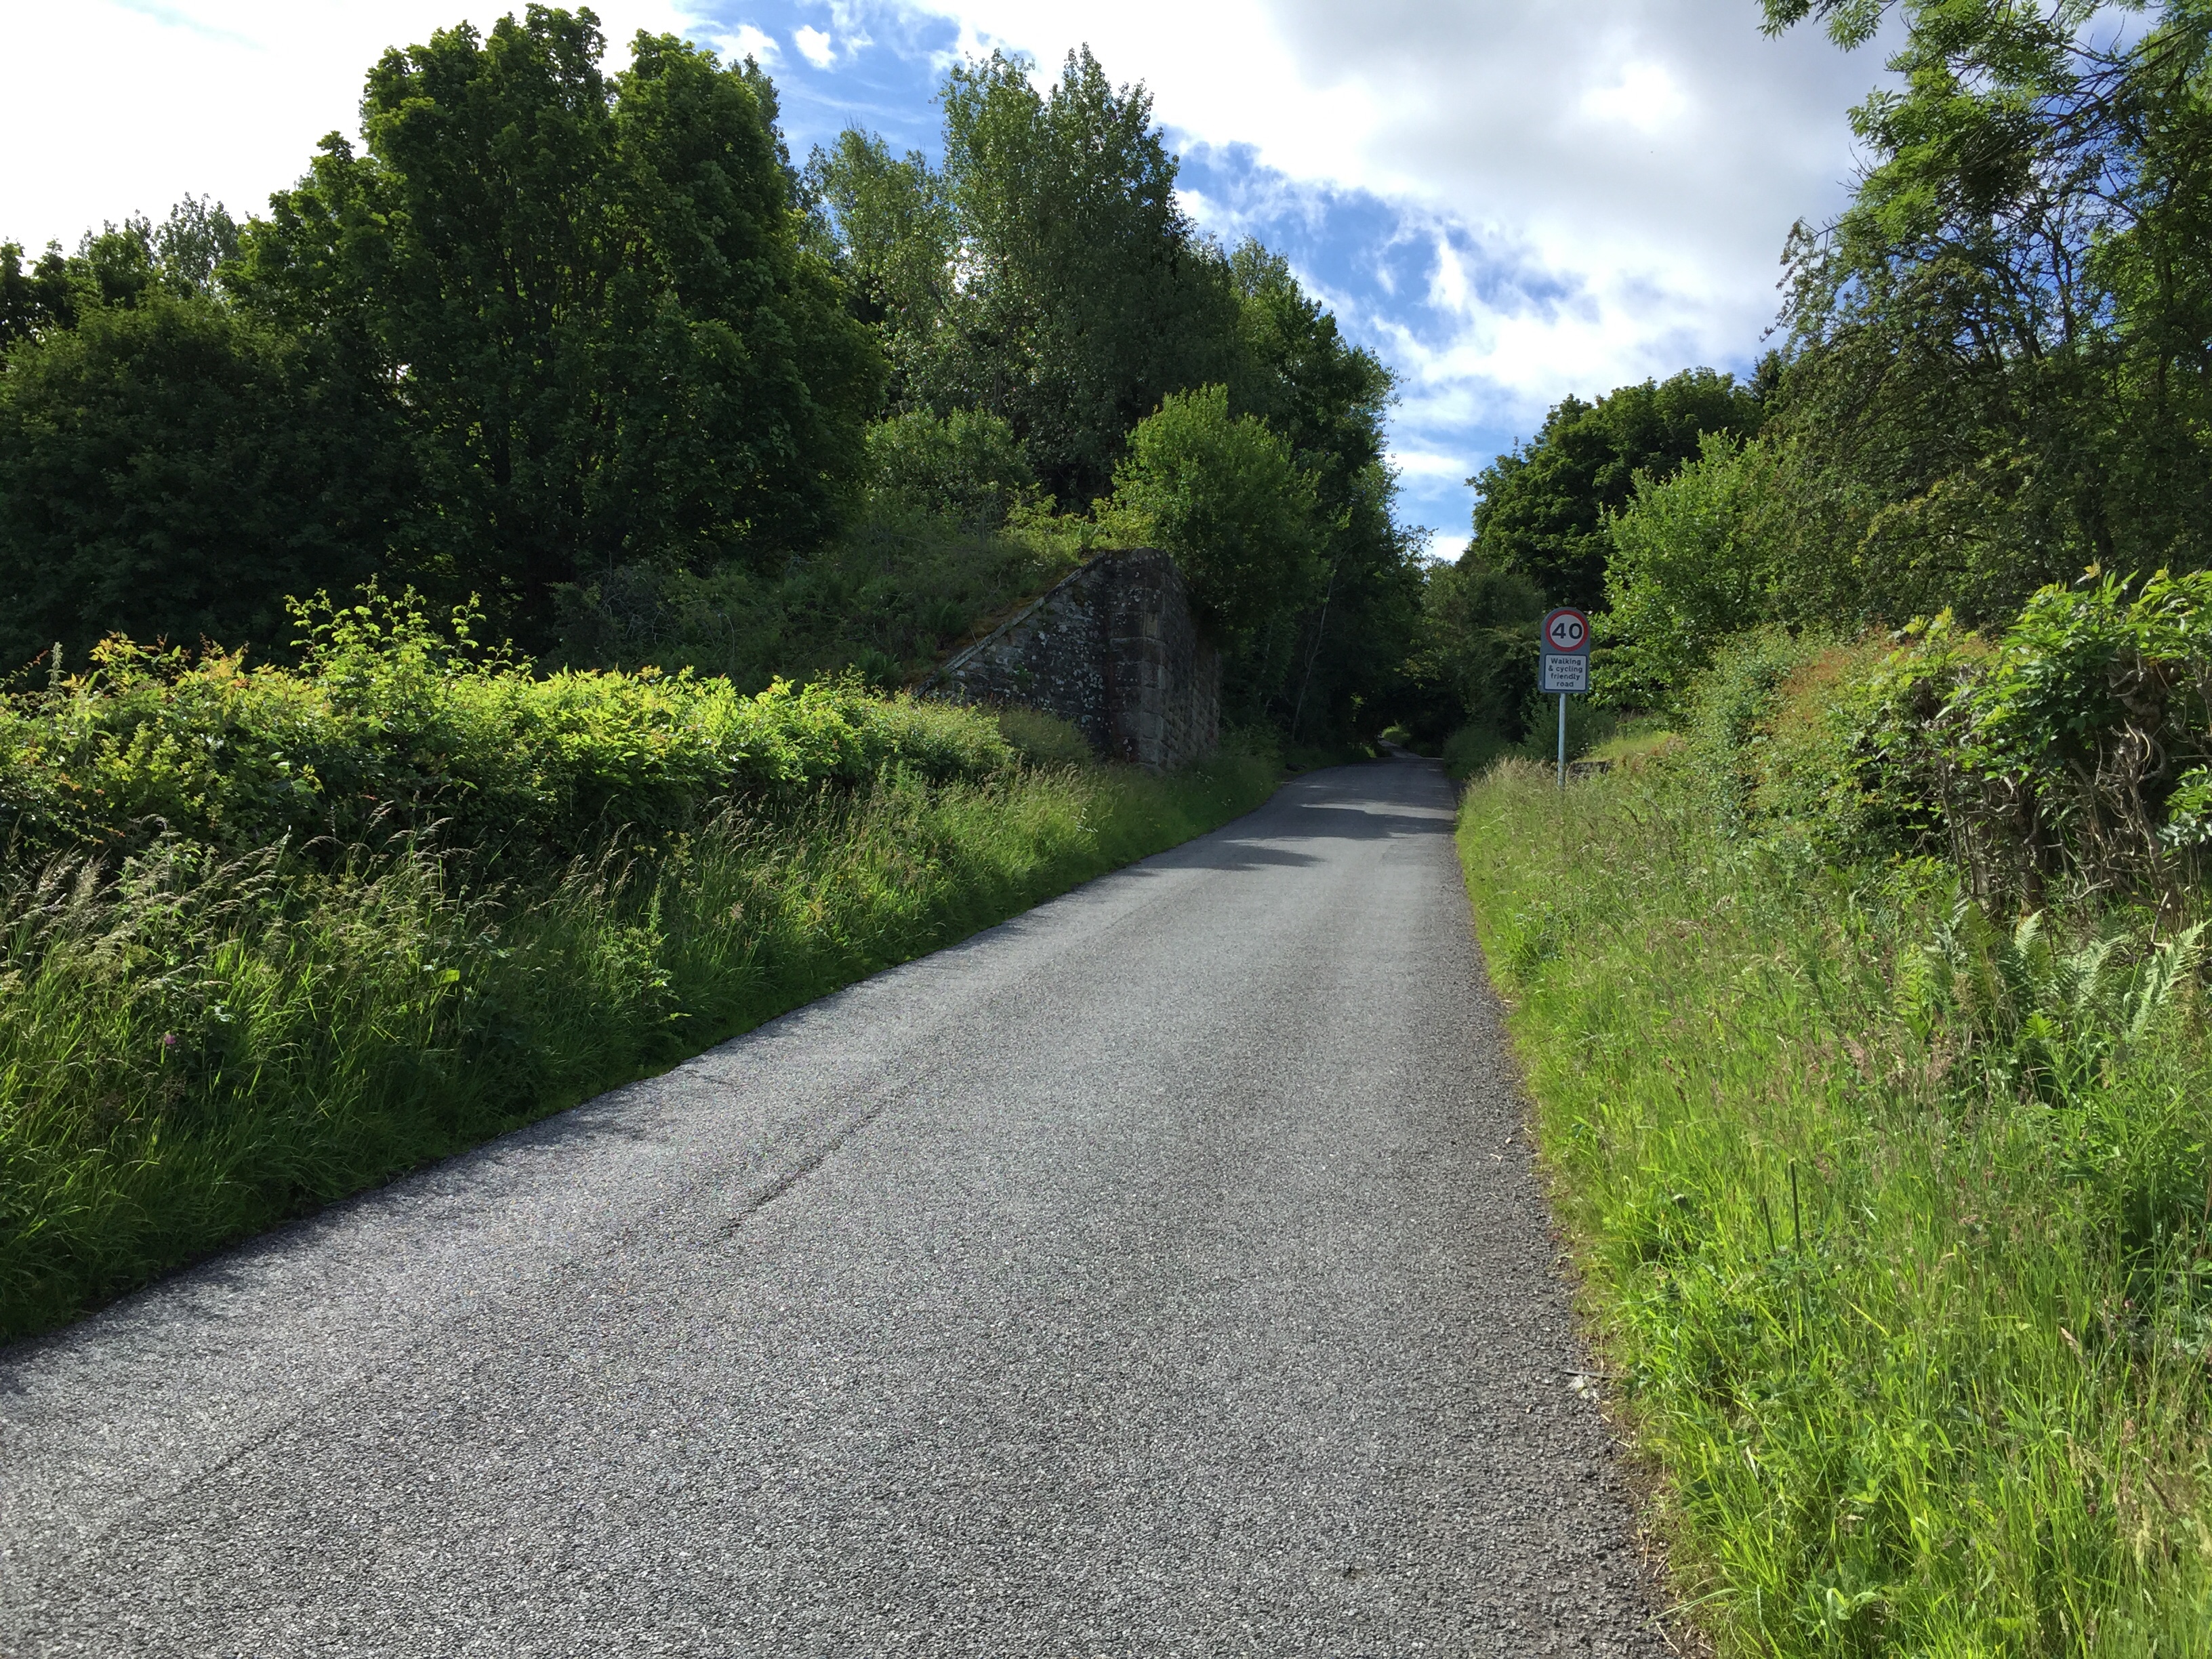
The start of my walk in was about 5km away and the bike was going to be a saviour, knocking 10km in total of today’s trip, which with plummeting fitness levels due to coronavirus and excess crisp consumption I felt was a good move. The bike trip was all uphill on the way there too. So the journey back would be a free wheeling extravaganza, something my feet would surely thank me for later. On the way there, I passed Balmanno Castle.
As I pedalled up the 12% gradient, I slowed to a crawl near the old railway line and pushed my metal horse the rest of the way up to the top.
With my helmet tied to the bike and the bike locked to a fence, hidden behind a bush, I started trekking up the hill. Big steps at first as I was so excited to be out and climbing, quickly tiring to baby steps as my energy vanished in the warmth. Like the last grid square journey, I wanted to start off the square and I was looking for a top, just to the west of a phone tower. You can see the tower in the picture below.

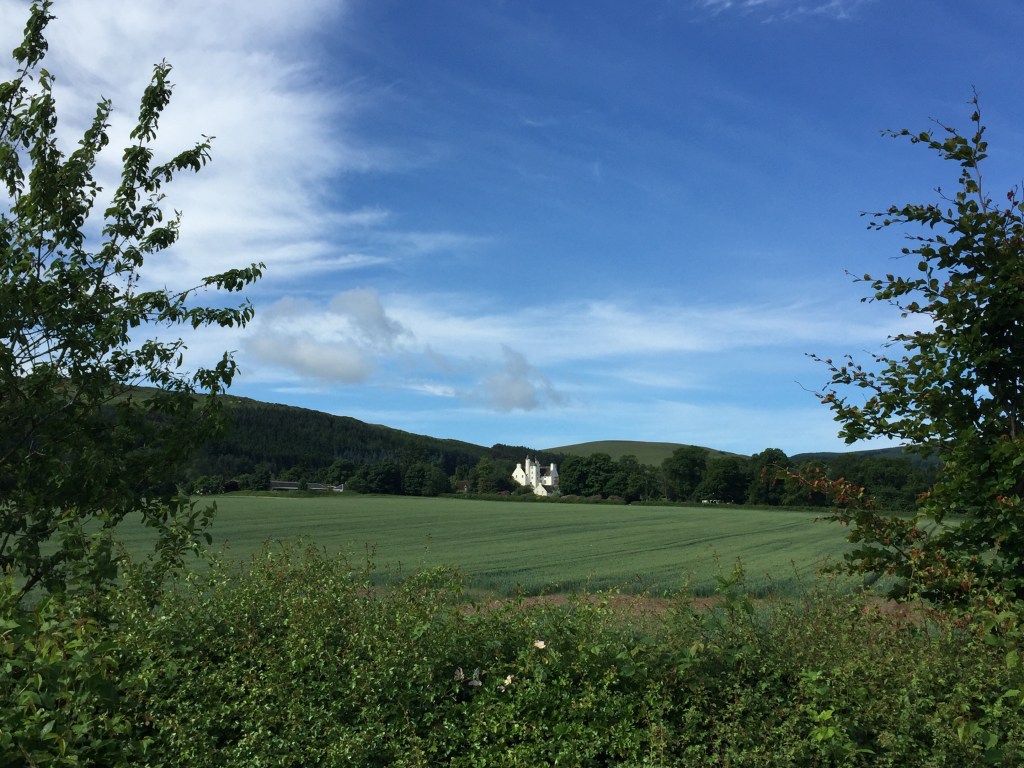
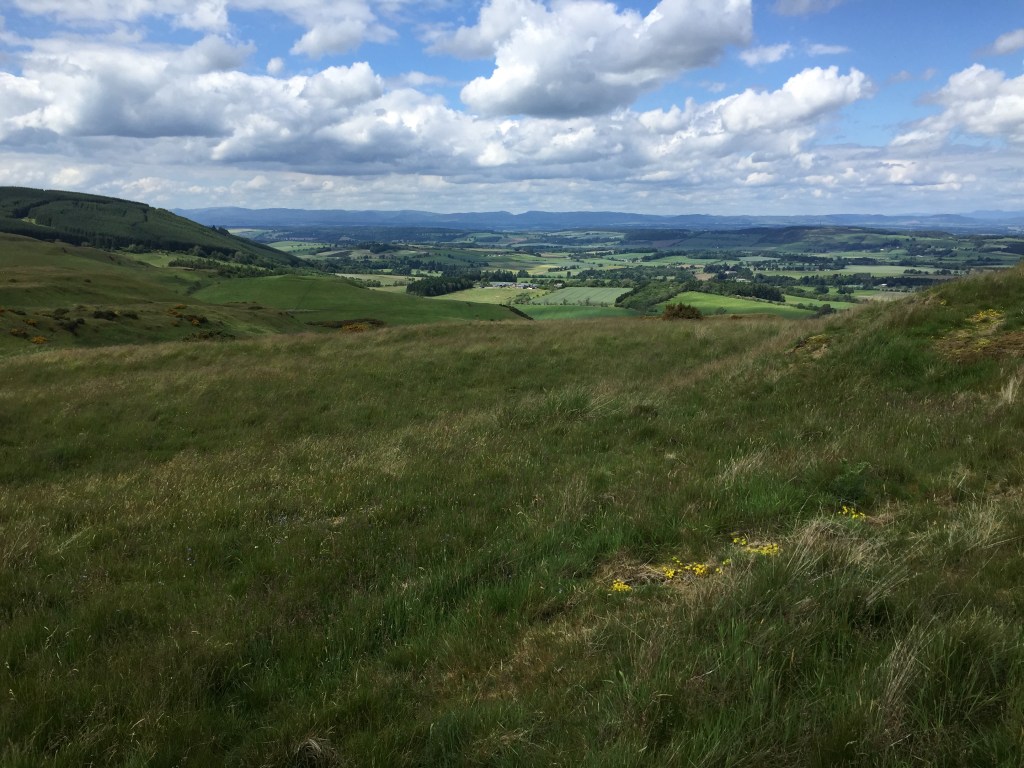
Looking back while I climbed, you could see all the way to Dundee along the Tay.

After an in depth discussion with some cows, who followed me from the tower to the next fence, either in curiosity or in menace, I discovered an old tractor. With the key still attached! That might prove useful if I was too tired to get home in the heat of the day.

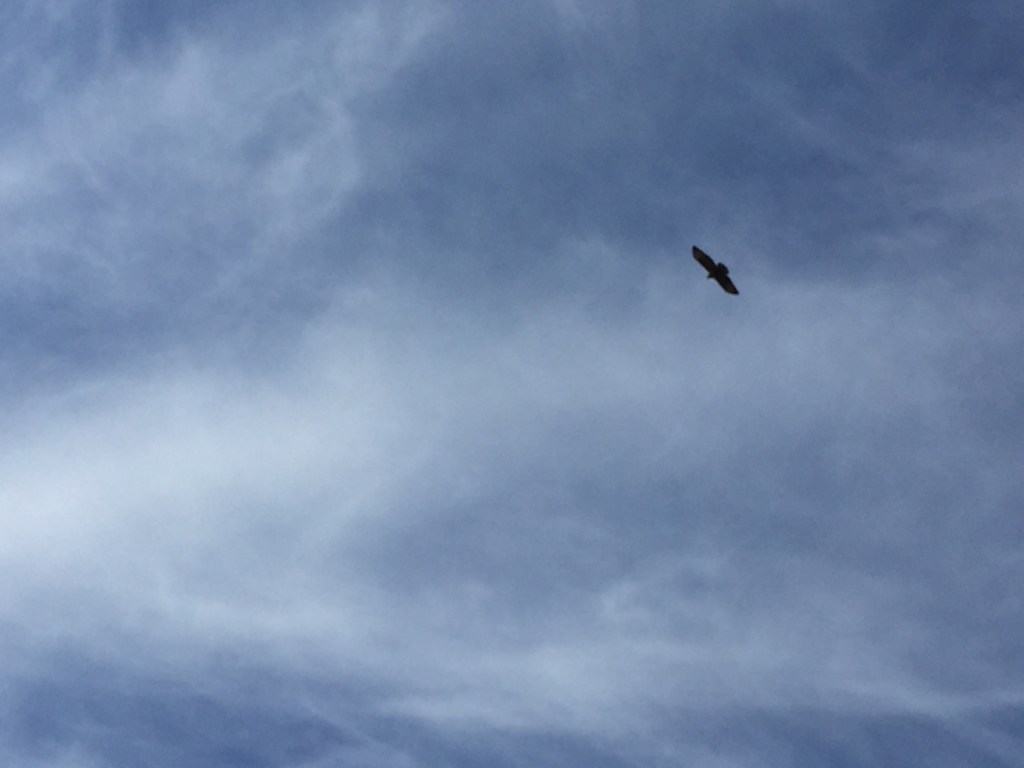
I also spotted this beauty, flying right over my head, in the same menacing fashion which the cows displayed.
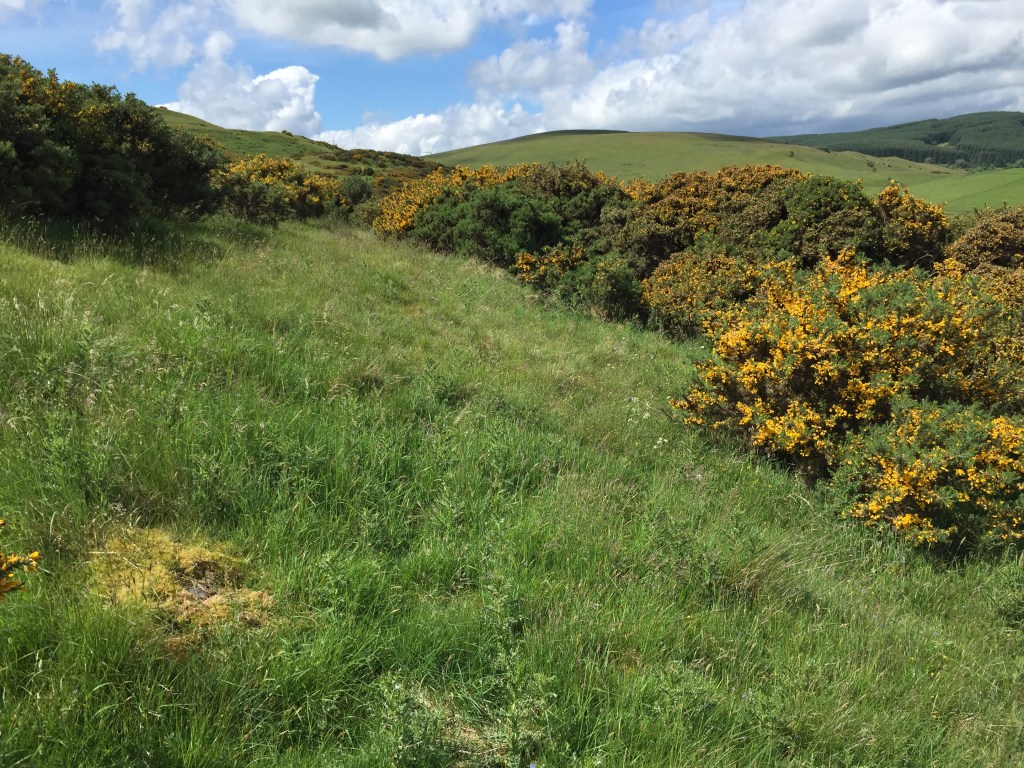
I reached the high point where I planned to start and plotted my route, working out the distance to the square, timings, steps etc. If you read my last post, you’ll know that last time out I had a run in with some gorse, which was determined to knock me of track. Look what was in wait for me below.
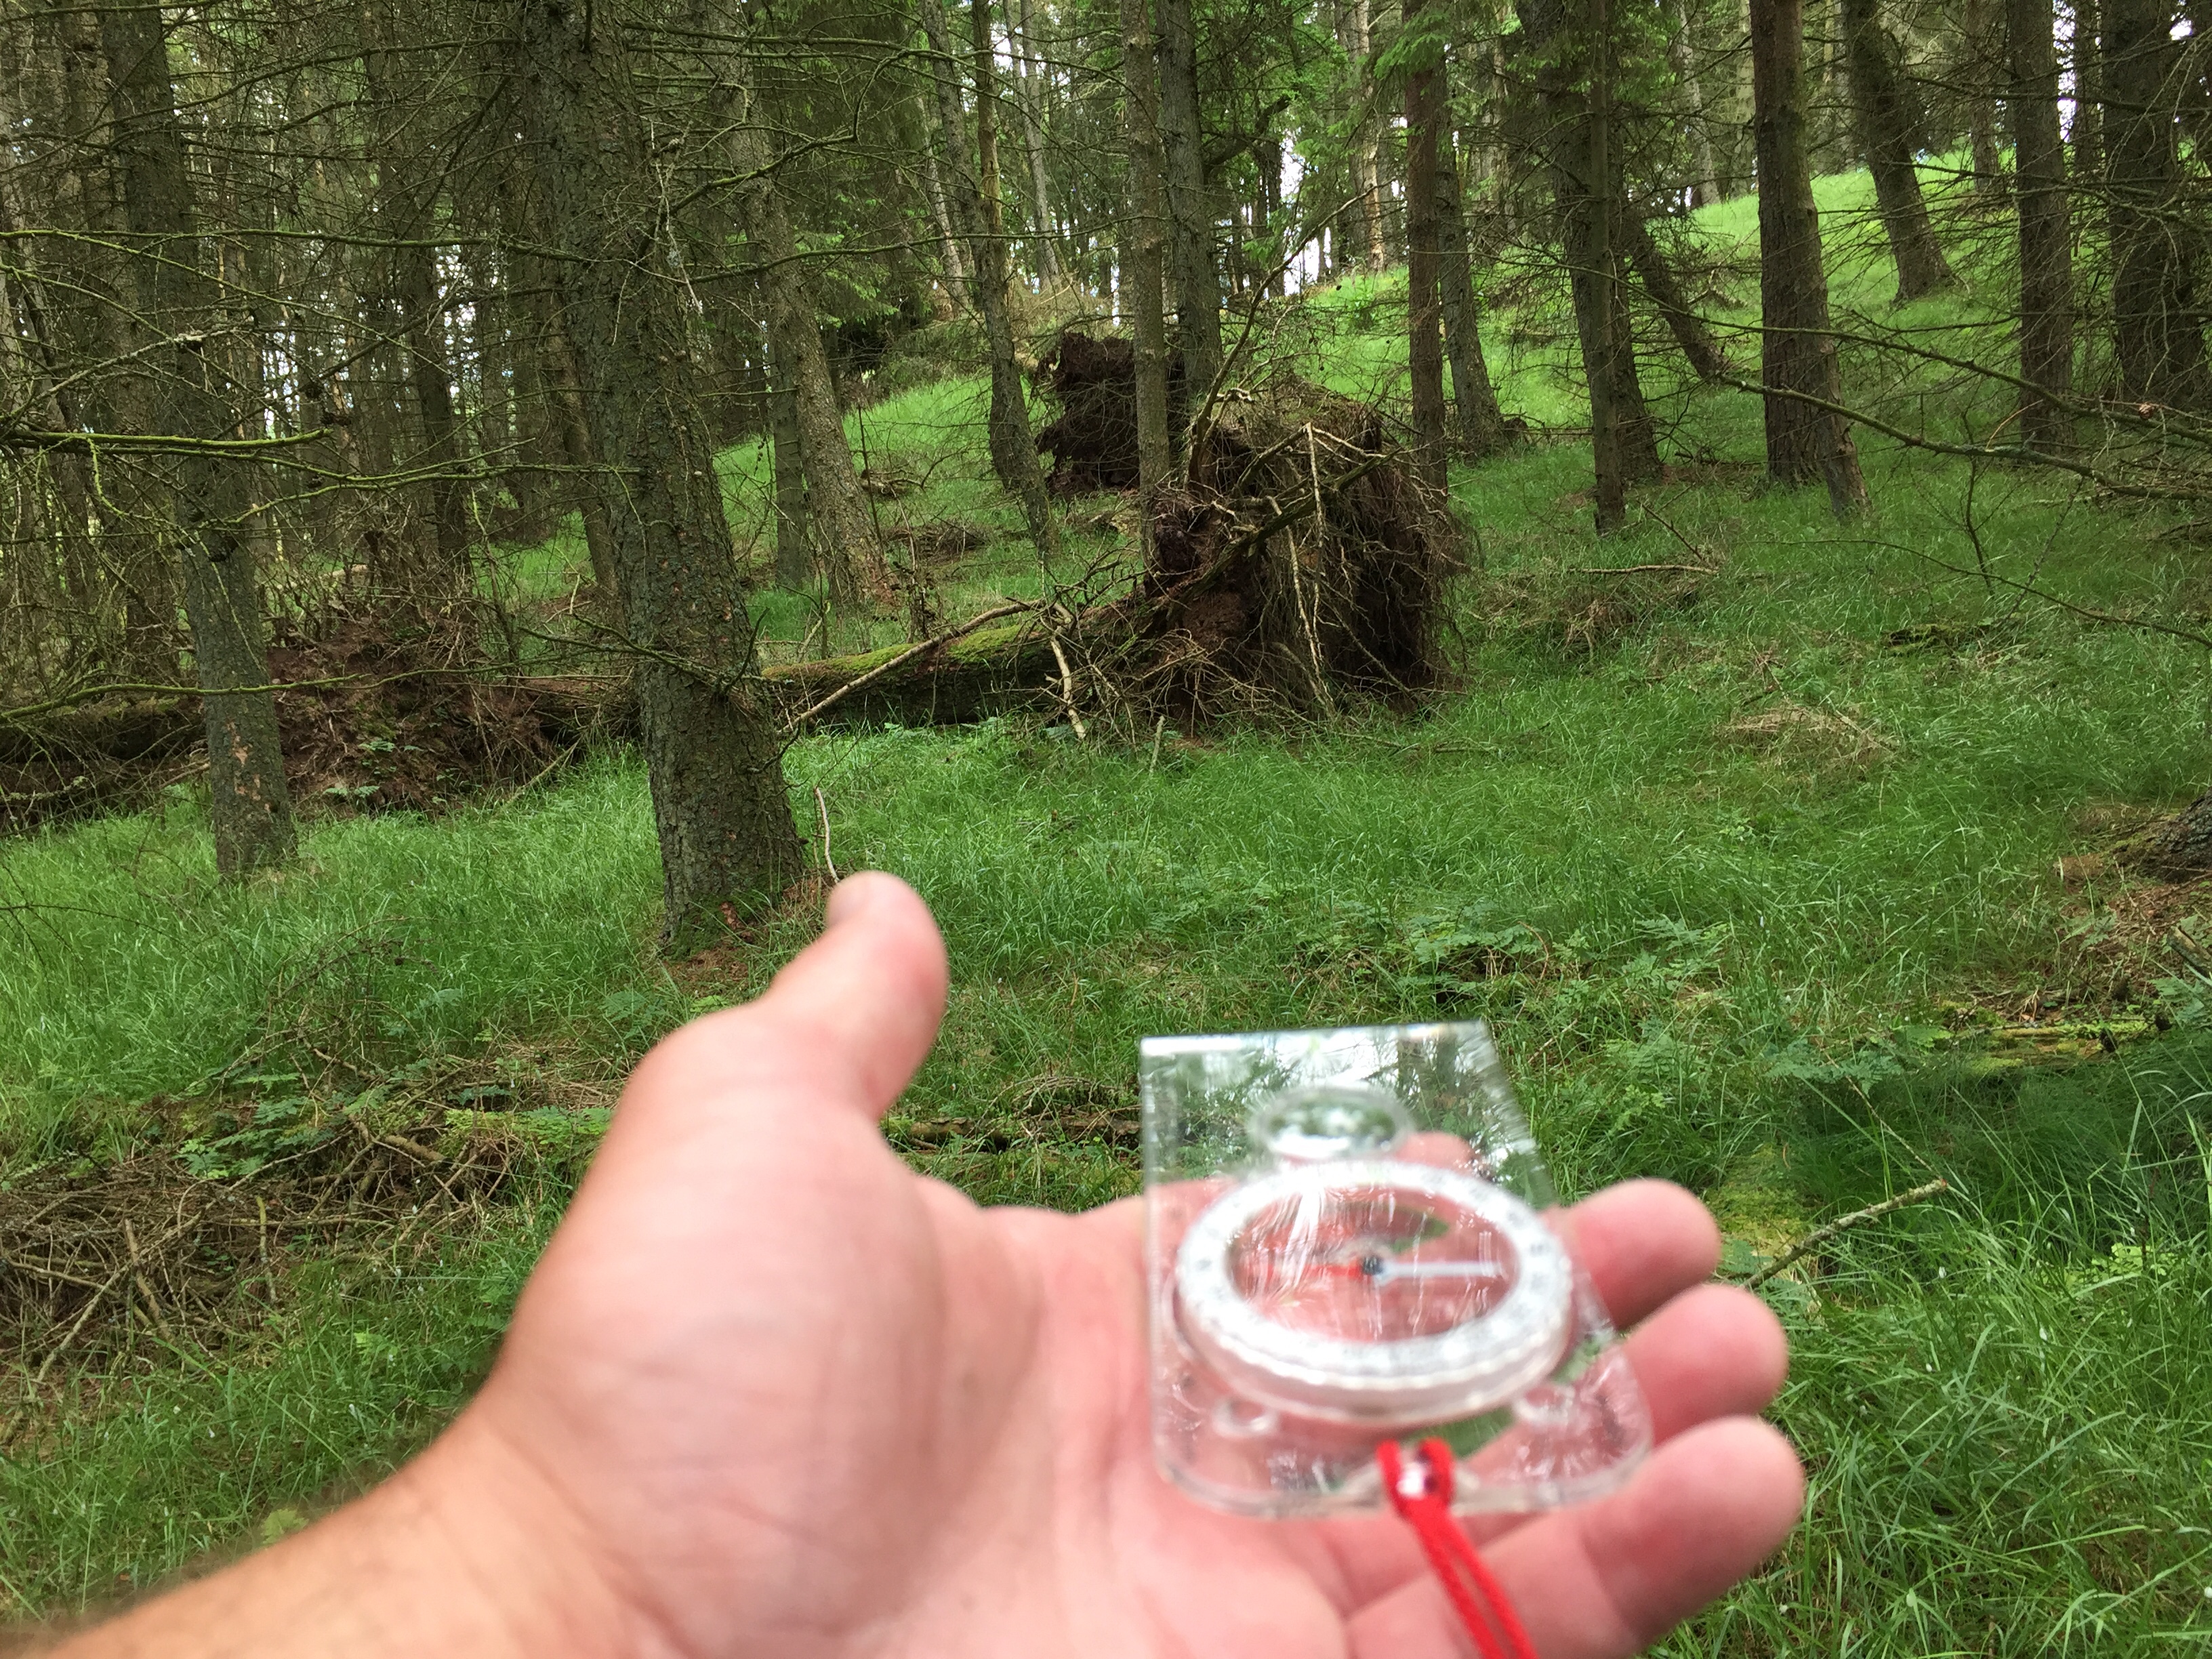
So right from the start, I had to manoeuvre around what was becoming my yellow nemisis. If my calculations were correct, I’d hit the grid square just to the west of the Balmanno Hill summit, handily marked by a trig point. Now it’s worth pointing out I was pretending I couldn’t see the trig point. The whole point initially with grid square journeys was that I practise my navigation, so that I can find my way home in poor or non existent visibility.
I finished just beyond the trip point and turned north, looking over Bridge of Earn itself.

With my next section plotted, I sauntered north towards the village enjoying the view, down what turned out to be a much steeper grassy slope than I saw on the map.

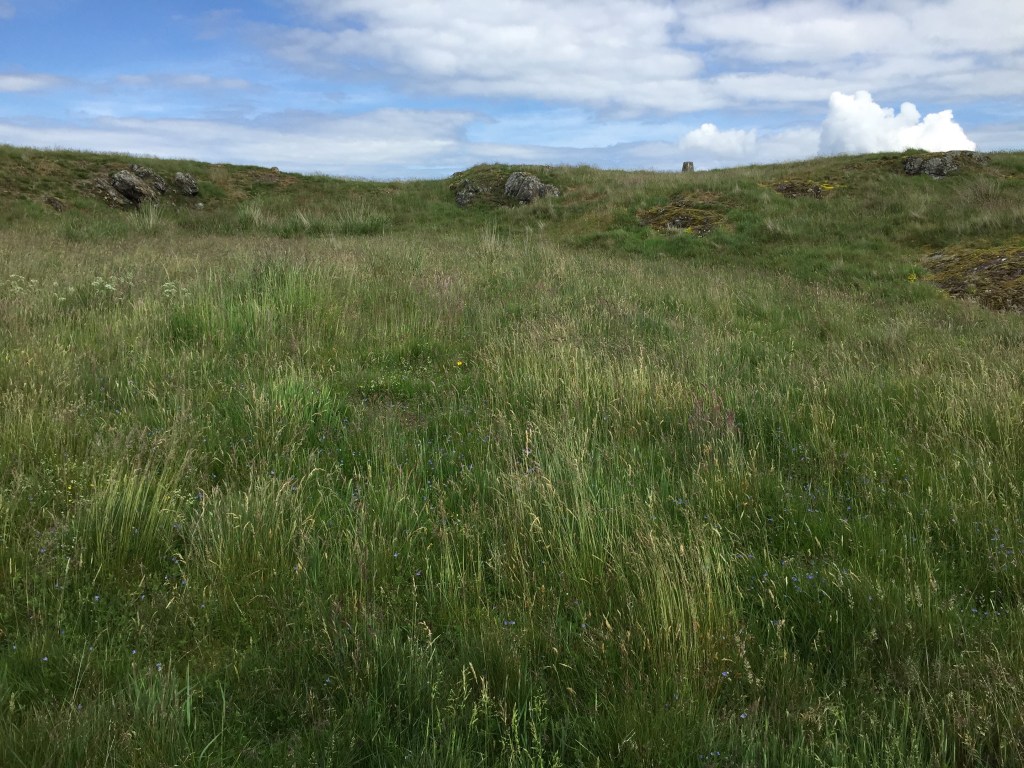
I stopped after completing my planned steps, a wee bit short of the trees. And it was clear from the map I hadn’t reached the north west corner of the square. This left me in a bit of a quandary. I knew I wasn’t at the corner of the square, I could see that from the trees (although it’s always possible that the trees are marked on the map incorrectly) and the height measurement I checked on my phone. But if I was on a hill where I couldn’t see anything, I’d have to rely on my skills without the benefit of sight.
I decided to move on from this spot, as if blind to the beautiful wind blown trees you can see below. That south westerly wind must be pretty strong up here.

I turned west, and after plotting my course started moving.

Into this.
My yellow nemesis had returned, in the same way the Daleks kept popping up to foil Dr Who’s plans. And when I looked up I could see where I needed to get to, just west of the point in front of me in the picture below. But I could find no way around or through the thick, spiky gorse bushes. As you’ll see from the map of my final route at the bottom of the post, I trailed a long way off course trying to find a way through the heavy gorse blanket.
I could see where I needed to get to. But in low visibility I wouldn’t. I’d only see the dalek bushes. I debated with myself what the best thing to do was. I decided to use my sight and height and worked out a route that would get me to that point.

Trees are much more friendly than gorse.
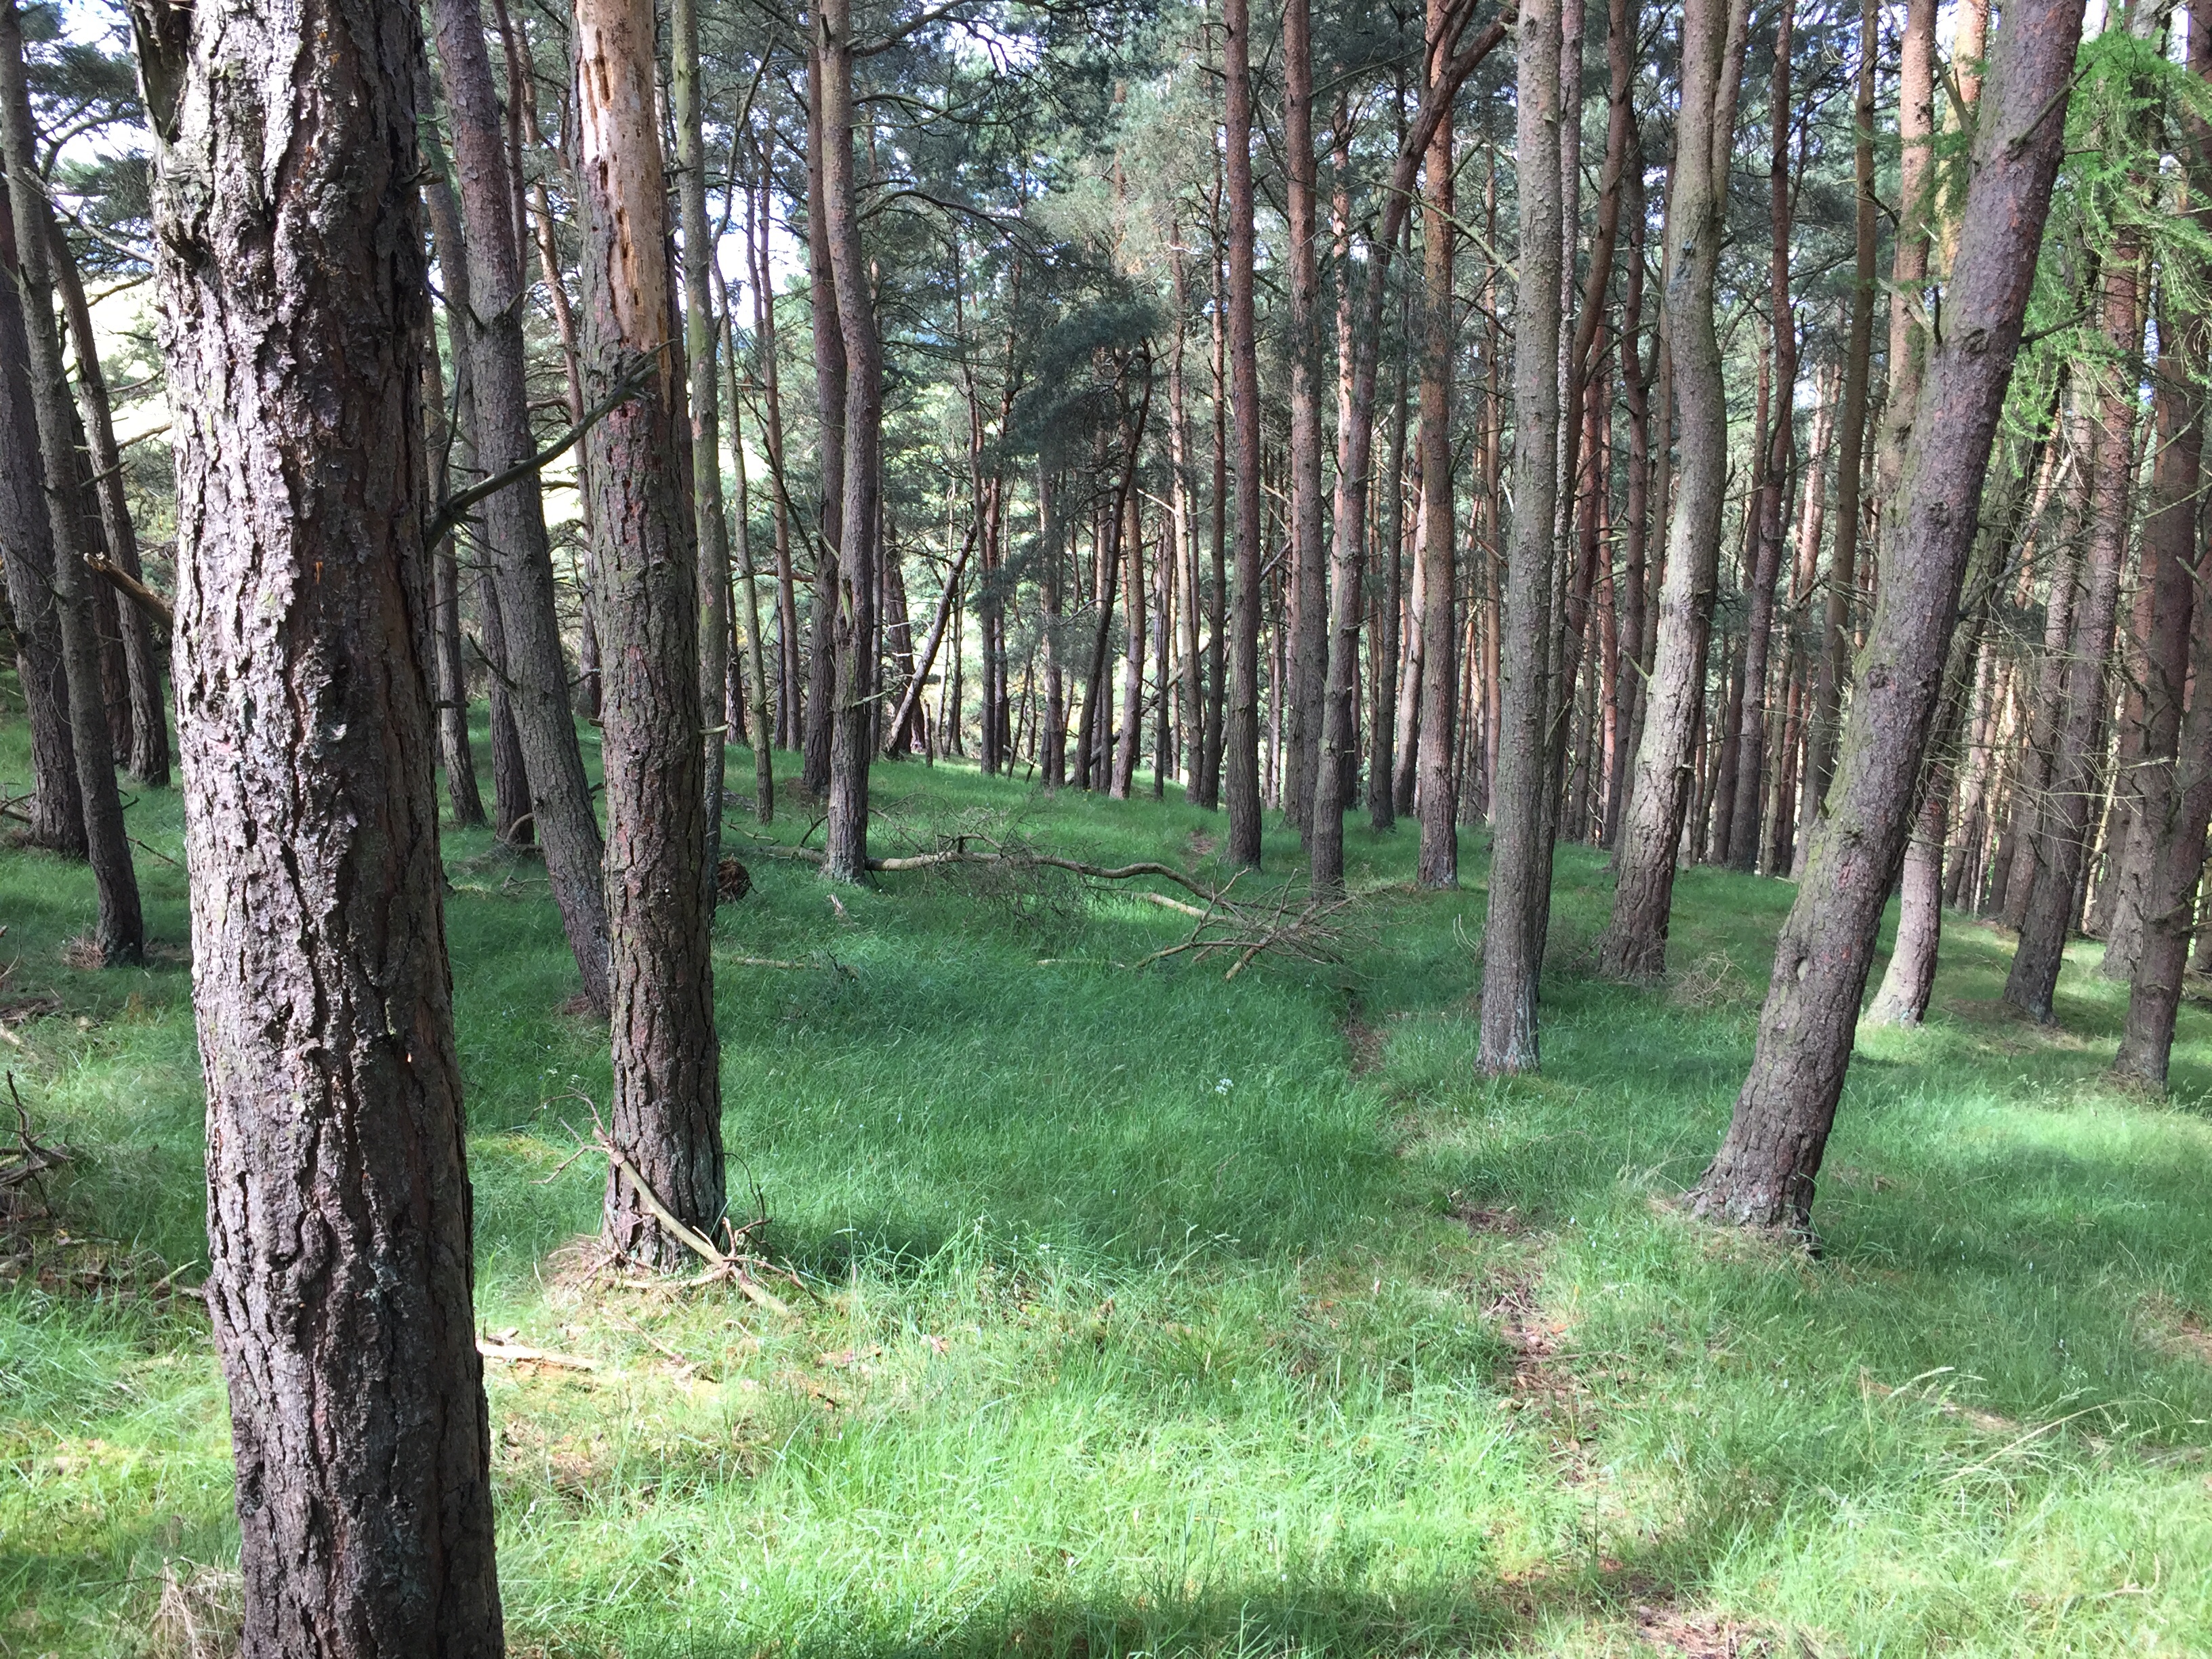
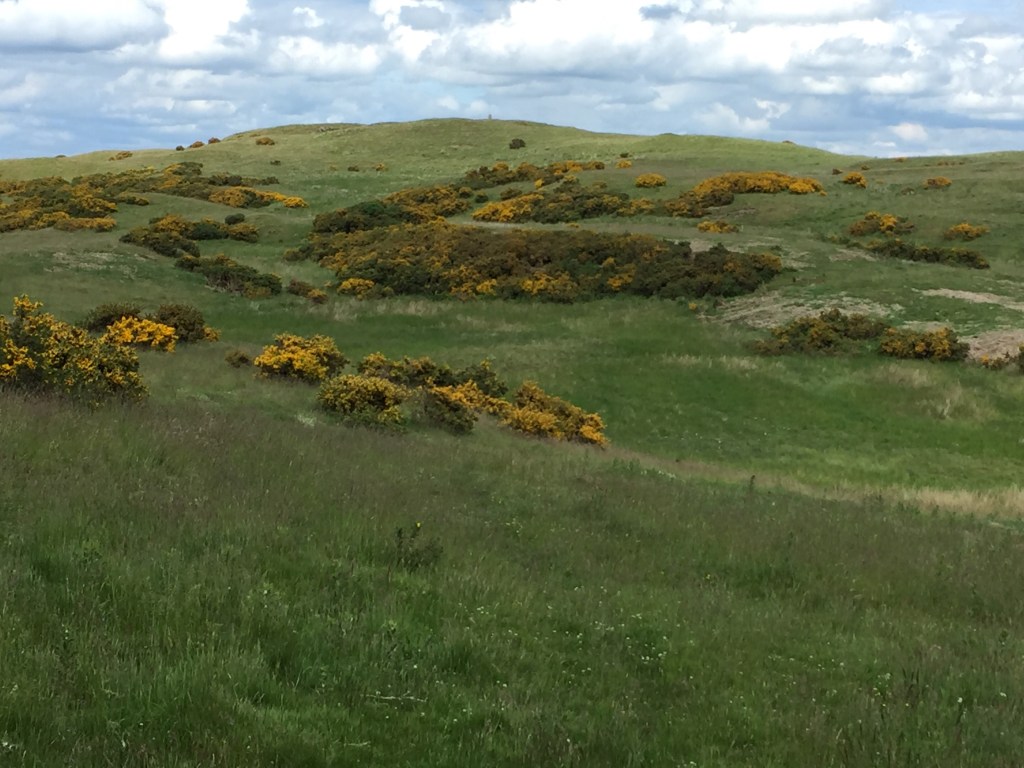
The next two pictures give you an idea of what I was facing in terms of spiky gorse hell. In the first picture, you can see the route I took. From the top right of the picture, you can see a line of clear ground to the woods, down through the woods to about half way, then out onto another clearing to a burn, then back up this side of the hill. But you can see some of the massed banks of gorse on the right.

And in this picture, you can see just how much of the hill is gorse covered at the moment. I had walked all the way round the top of the gorse bank that you can see to the top of the gorge on the right before turning back. And not a single spot of clear grass to walk down. Never mind a blanket, more a wall.
I was hungry and the top at the north west corner of the square made a fab lunch spot. Legs or hot dogs?

I set off south after lunch on much better ground and with no daleks to get in the way.

And then east.
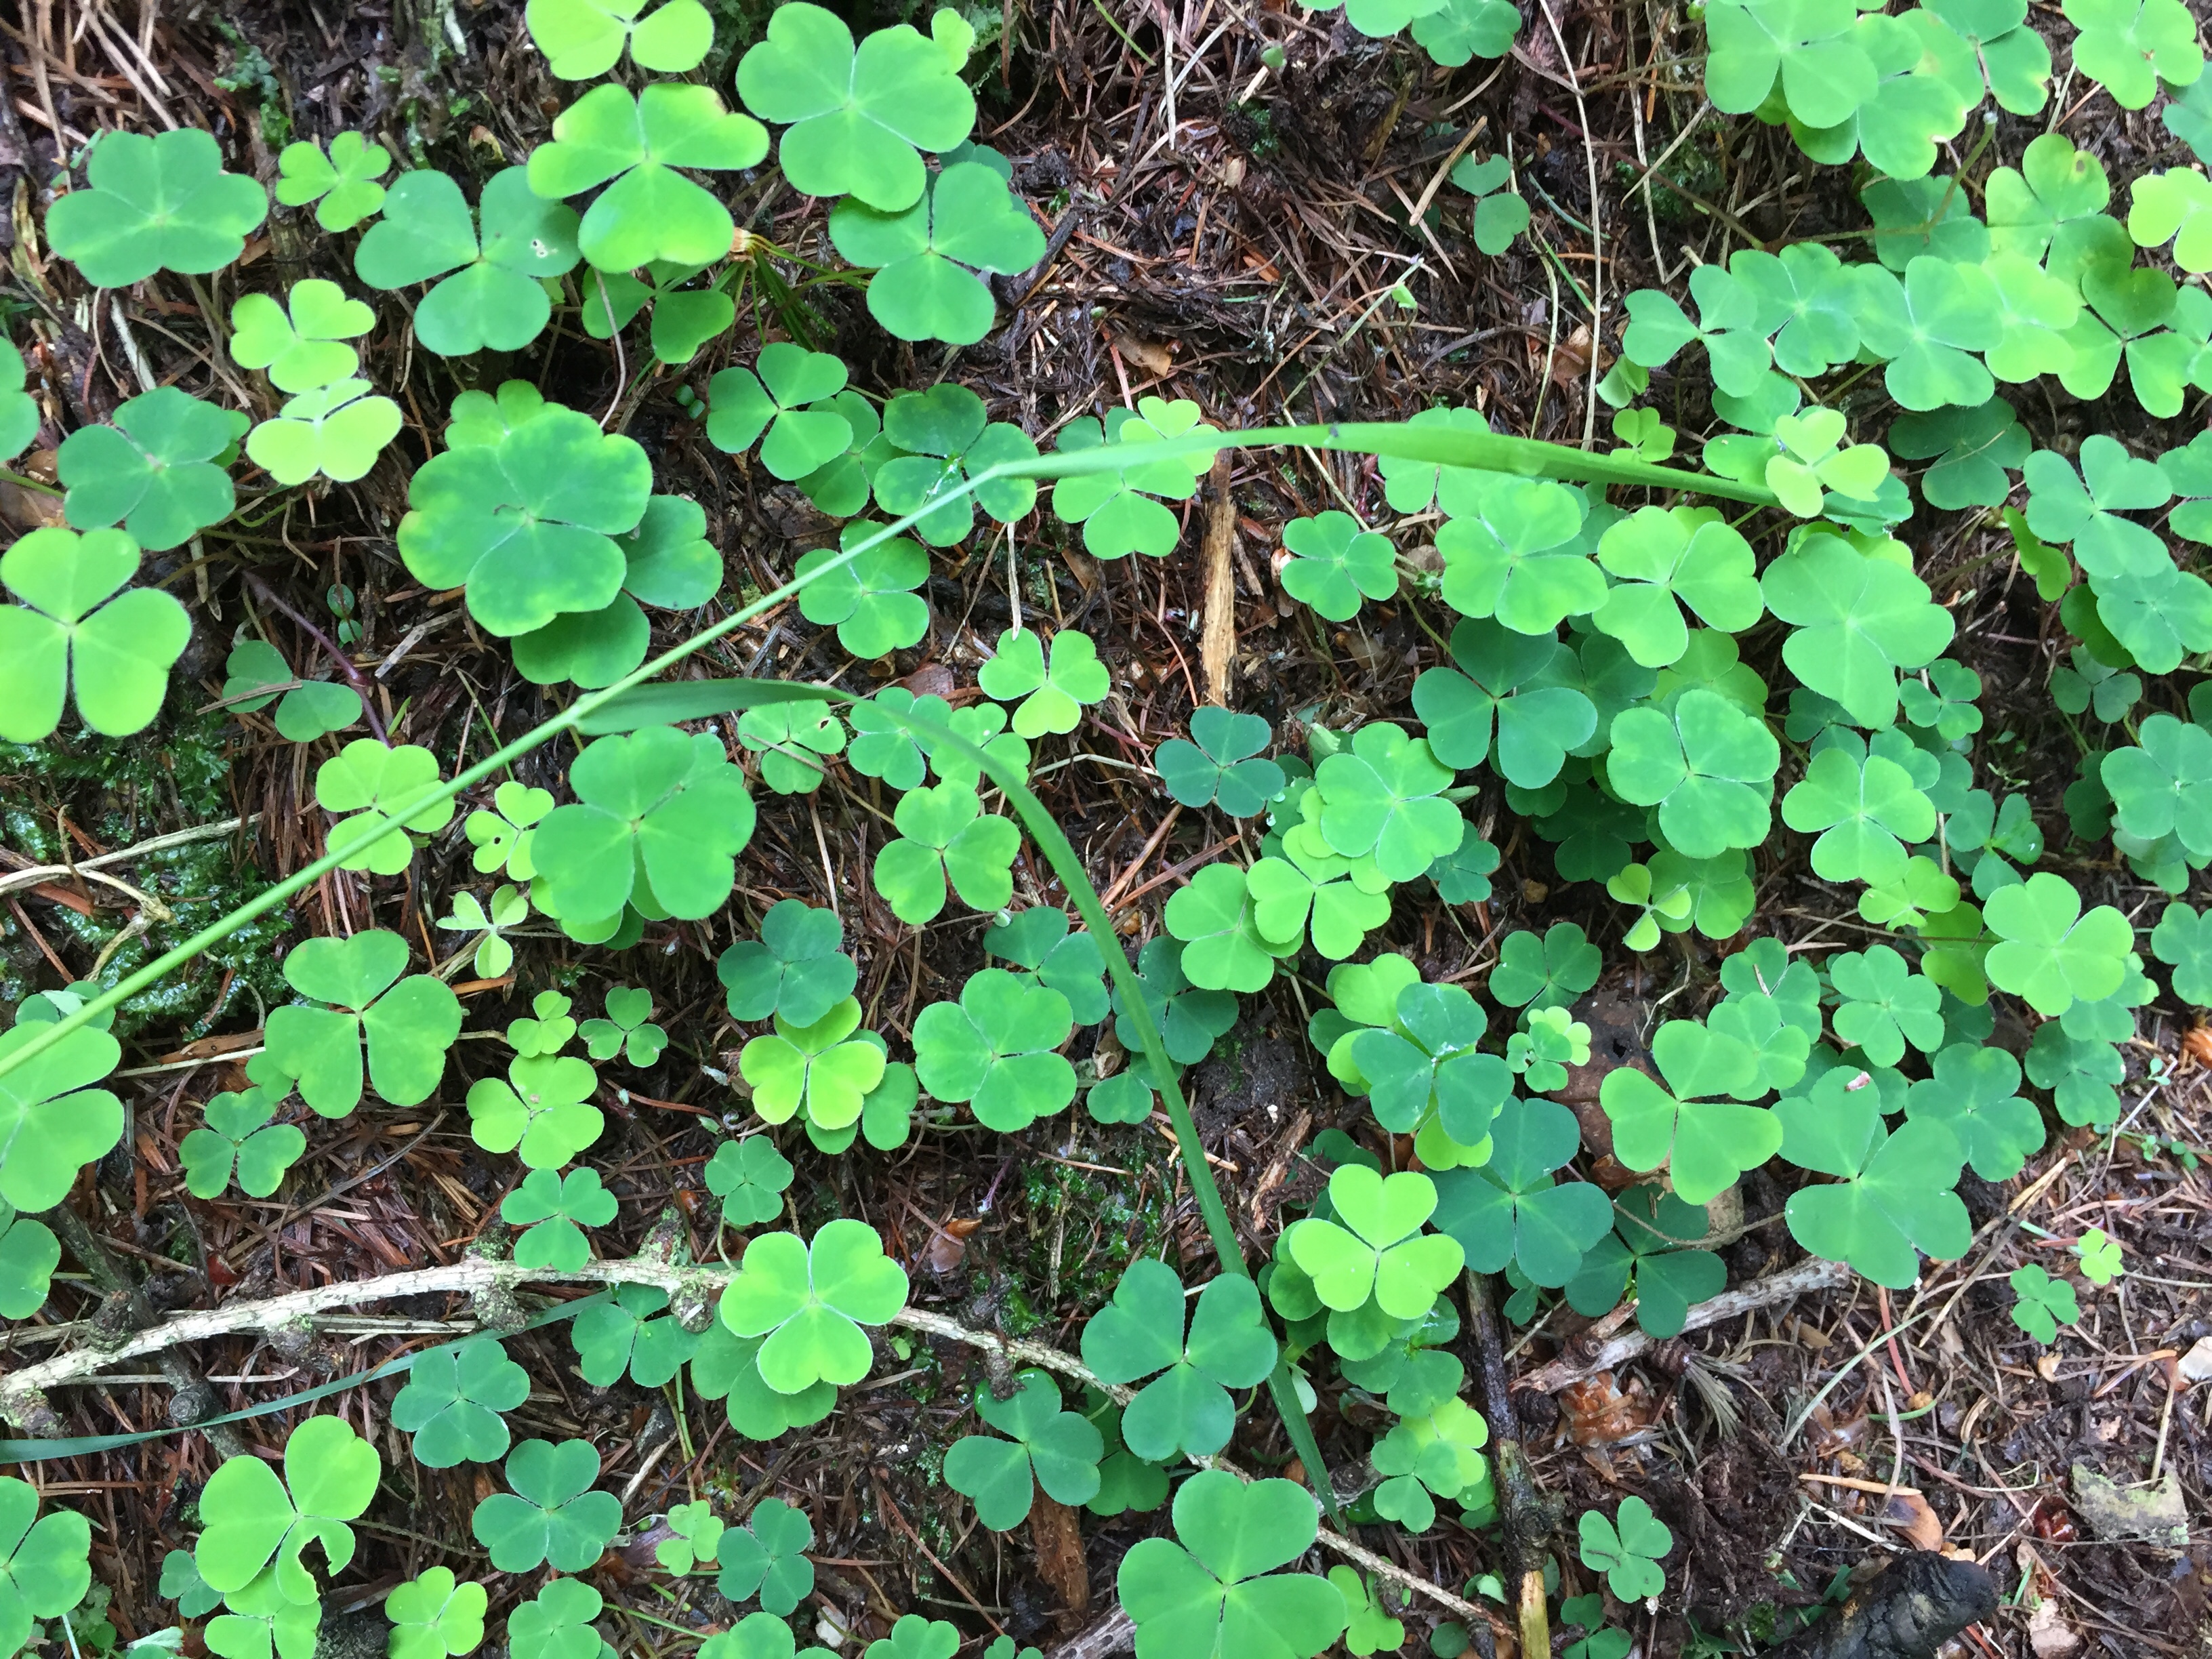
Wood sorrel for snack time.
This tree is grasping the rock it’s growing on, gripping it’s base with roots like fingers.

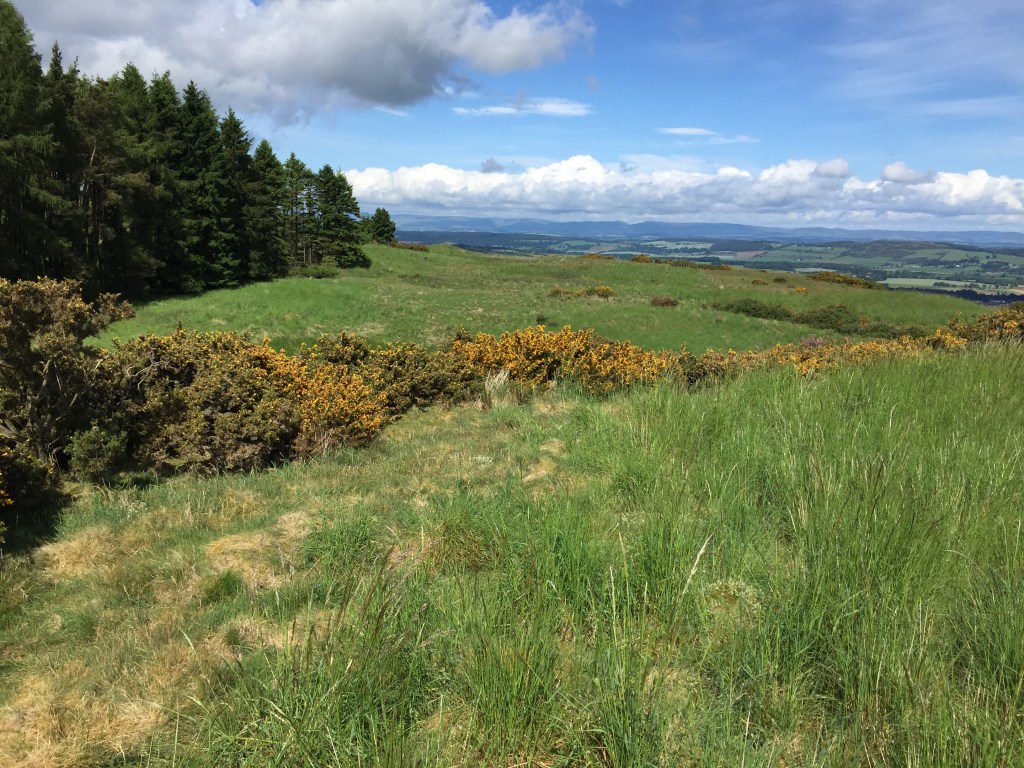
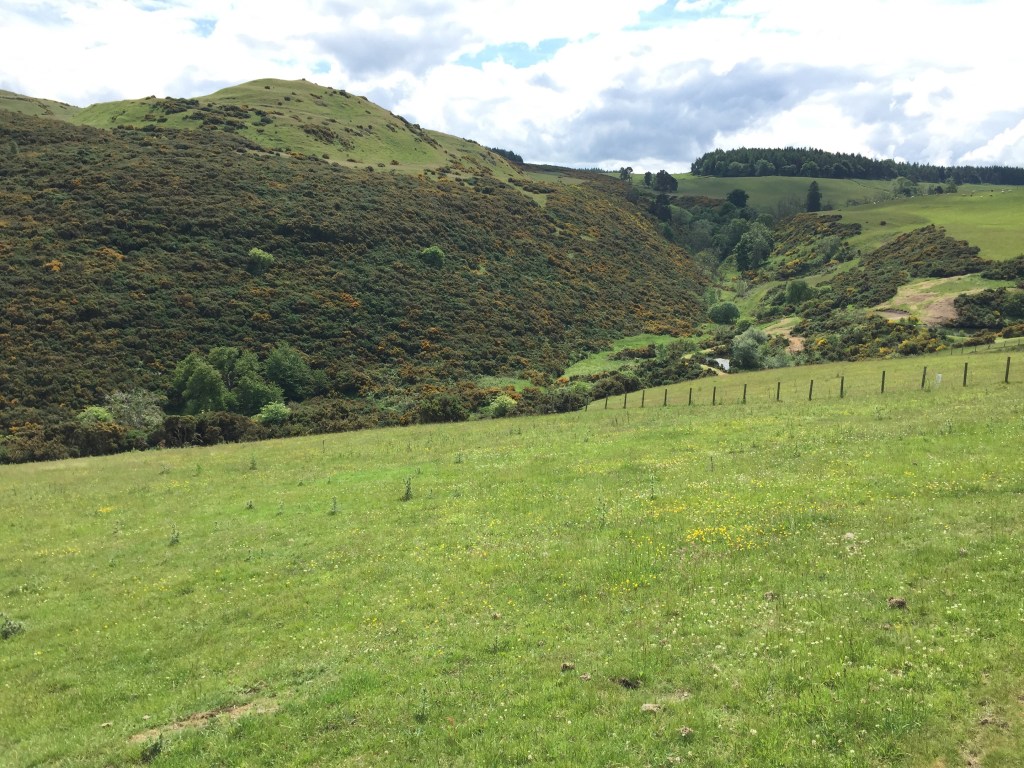
I continued east, the peak of West Lomond in the background.

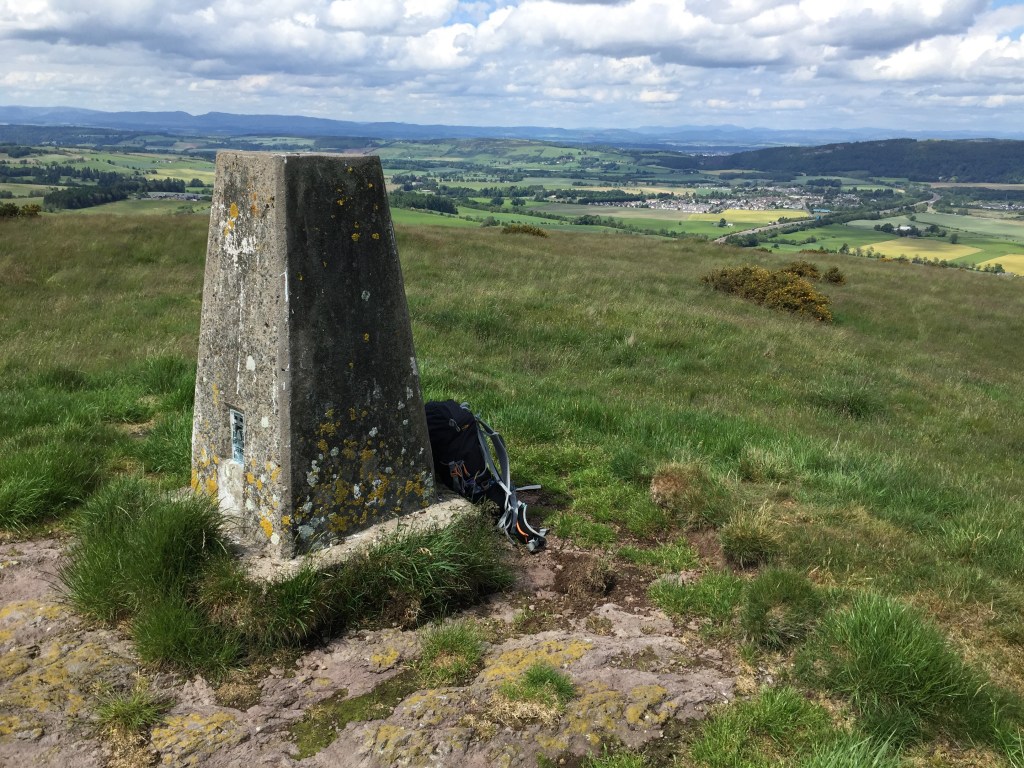
And then heading north. More gorse, but plenty of routes round it this time. You can see the trig point on Balmanno Hill in the centre top of the picture. After my lunch, I went back to poor visibility so was relying purely on my navigation and I was curious to see where I would finish in relation to the trig point.
And here is where I finished off. A little west of my final destination.
You can see the peaks of Beinn a’ Ghlo in the background.
So how did I do? Let’s see.

How critical shall I be? My navigation skills are getting better. I use the 5 D’s which are as follows:
- Distance – How far to the intended destination?
2. Direction – What is the bearing?
3. Description – What we see or feel on the way and what will the destination be like?
4. Duration – How long will this take? and
5. Dangers – Are there any hazards on the way?
I learned these from a fab mountain guide that I know, Rich Parker. You can find out more about Rich and navigation here: https://www.access-mountain.com/single-post/2015/10/25/How-to-avoid-geographical-embarrassement
I completed a full square this time which is an improvement on my last outing, although that push towards the middle of the square while trying to outwit the gorse gives the square a slight cracked window look. Here are my notes (first number is direction, second number is estimated distance, then comes my estimation of the ground, then estimation of double steps needed, estimated duration, and actual time in brackets):

So what have I learnt?
First, finding a good square is not always easy. There are a few other squares near me that would be easy to practise on, low level and fairly clear of any obstacles. At the moment though they are being used for crops by the local farmers.
Secondly, what are these grid square journeys for? I need to consider the purpose of these trips a little more. Should I consider myself blind, as if in a mountain whiteout when practising, ruling out the possibility of using what I can see to guide me? Or should I just go with the conditions and if I can see where I need to get to, use that information?
And thirdly, I need to think a little about the number of double steps and timings per 100m I base my calculations on. My timings in the last two journeys have been sometimes nearly dead on, while in others, they’ve been a fair way off. My stepping is more reliable but you can see from my route above that I’m generally short of my planned destination, the corners. Am I choosing the wrong ground difficulty, or are the numbers of double steps wrong? It could of course be both, I’ll dig around a little deeper and come up with a modification for next time.
And finally, I’m running out of local hills and decent grid squares that are close by. I hope the travel restrictions are relaxed soon. Maybe I need a tardis.


Your Thoughts?