

My first hill day in a while! The sun would be shining, some of the time at least. The forecast told me so. The wind would be light and the chosen spot for a grid square journey was one I’d had my eye on for a while. A wander around the grid square which included a peak called Carleatheran was initially the plan.
The lack of hill days recently led to a change of heart. I needed something shorter and easier to counteract my lack of fitness. Today’s venue was still the Gargunnock Hills. But the square surrounding Gourley’s Burn, a few km along the escarpment from Carleatheran, looked more manageable and similar in terms of gradients and potential views across Flanders Moss and the Forth Valley to the mountains beyond.
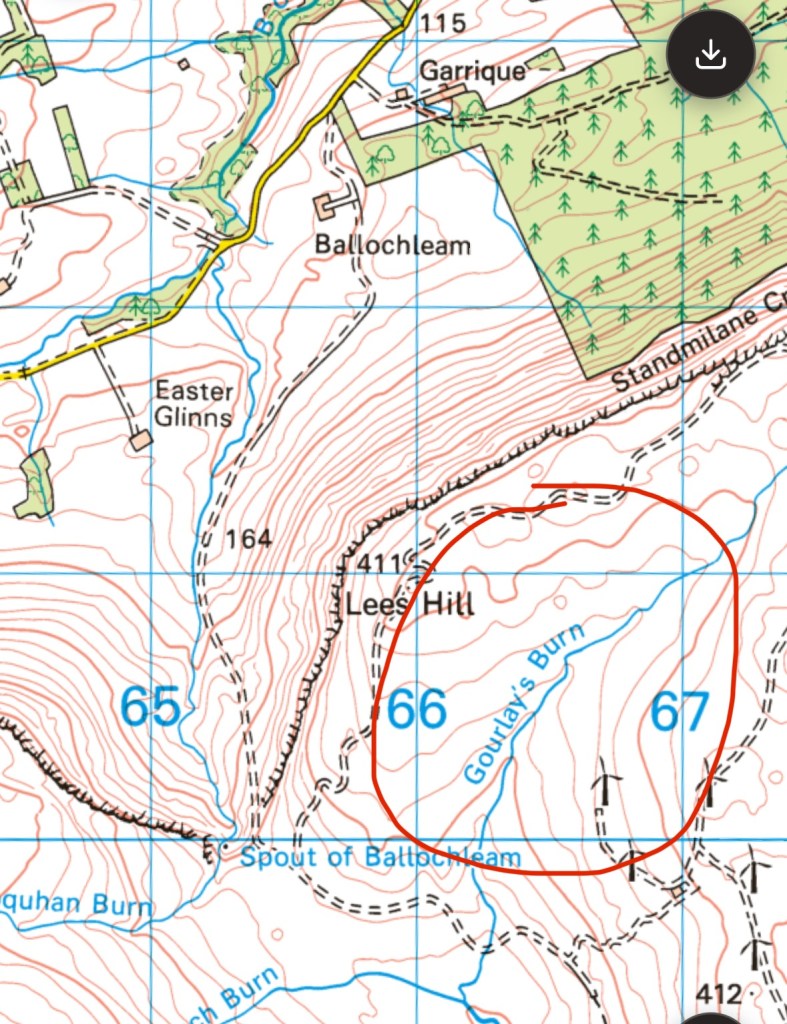
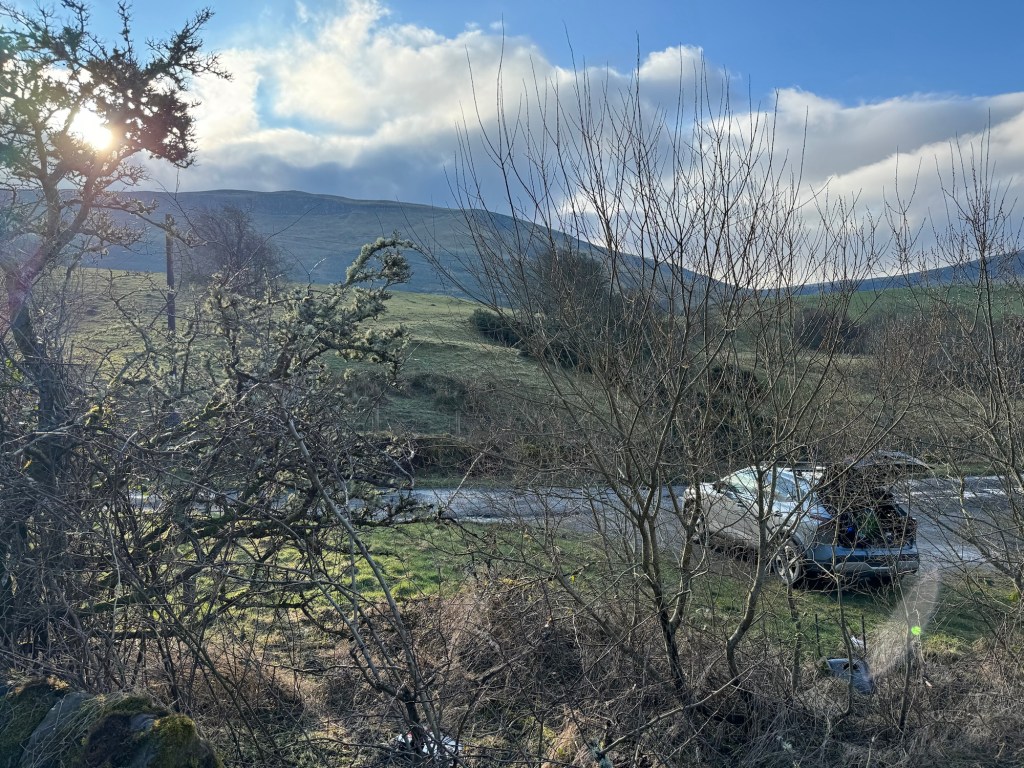
From the parking spot you could almost see the NW corner of the square at the top of the hill. As well as the dip I would initially head towards to reach the higher ground.
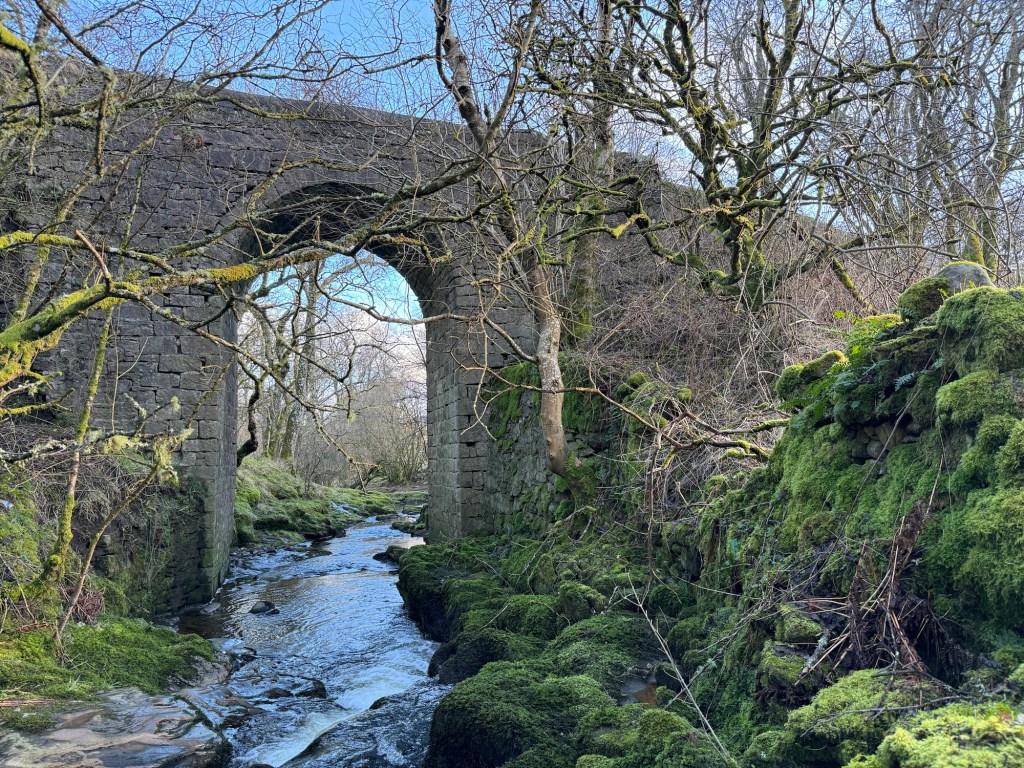
A bridge can be found on the OS Explorer map, marked as Bailie Bow’s Bridge. The sun was bouncing off the trees but this didn’t stop the near 20m high bridge looking a bit run down or dilapidated in places. The rumble of the Boquhan Burn was the only sound in a place which had a real feeling of remoteness, despite only being a few miles from a town.
After a few hundred metres of road walking I turned right and uphill along a dirt track past Ballochleam Farm and then to the right along the bottom of the crags.
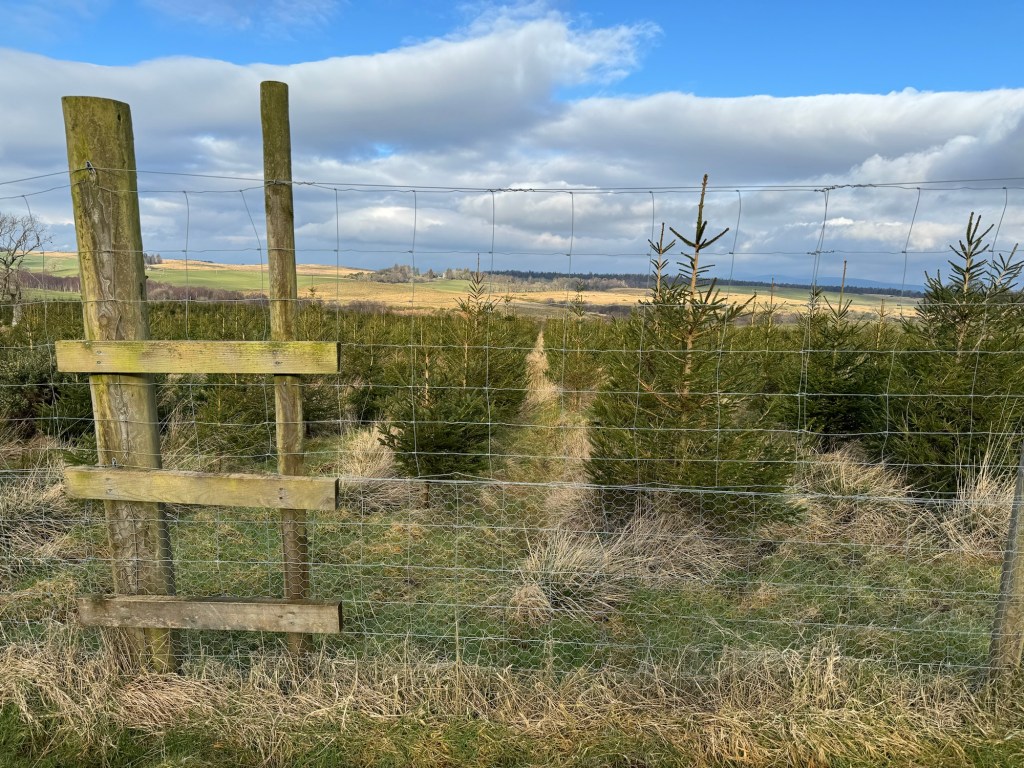
I can think of a few times a deer fence has caught me short. The simple ladders built every few hundred metres on this particular fence looked like a potential Dragon’s Den invention.
The sheep took the high road to avoid me here, having followed them for half a km or so.
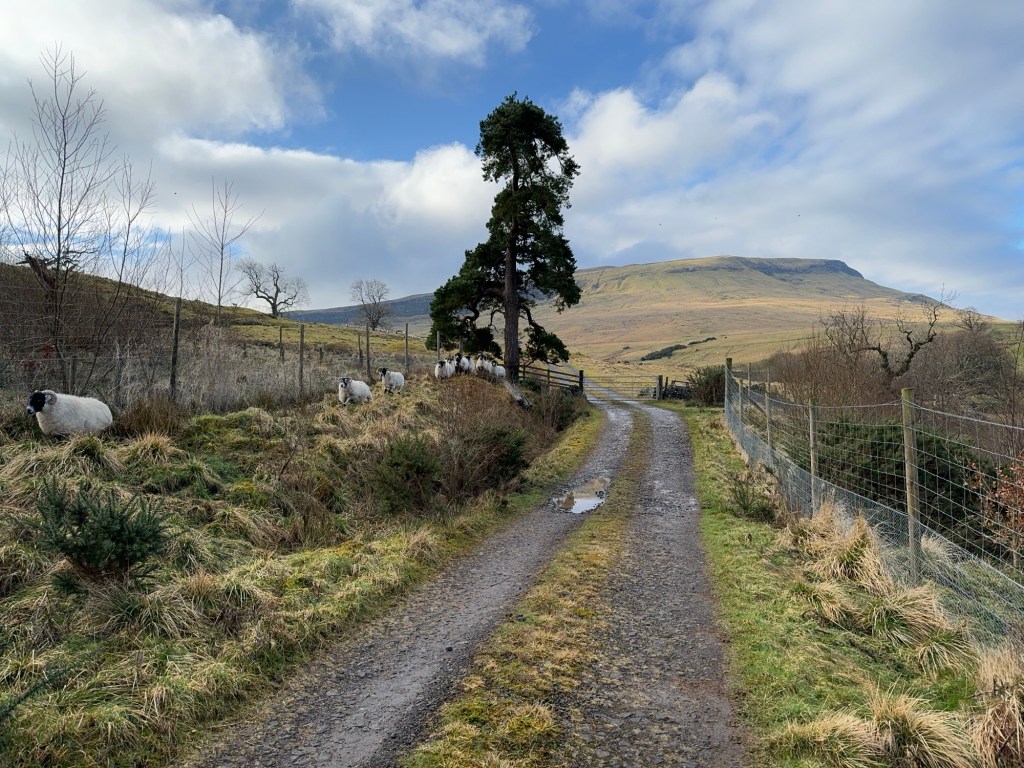
The plantation ended at a lonesome pine tree and the ground cleared. The rainbow coloured landscape beyond looked beautiful in the sunshine.

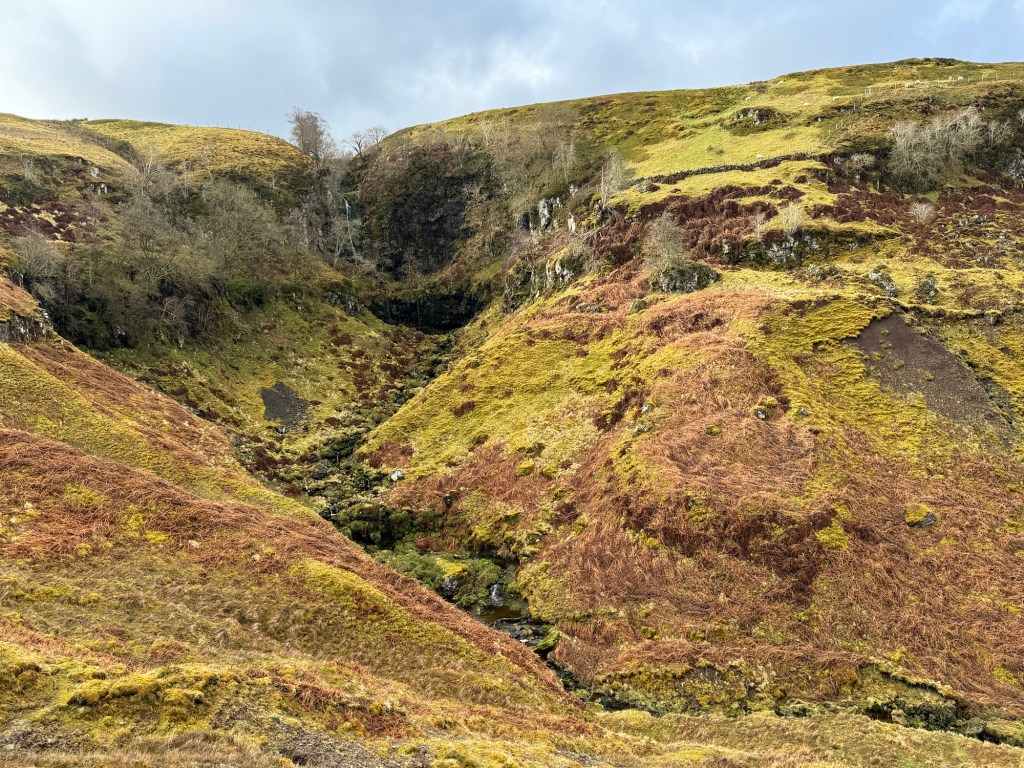
The Spout of Ballochleam came into view, a gorge cut into the ground, presumably by the fall of the higher reaches of the Boquhan Burn. Walking round the edge on the lookout for places to dip, it was clear the falls bounced off the rocks at the base and then disappeared to reconnect the burn. No swim here today.
As the track plateaued I reached a gate and the point where you can go east or west along the escarpment. West towards Stronend or east towards Carleatheran. There’s a Walkhighlands route that includes both peaks which is worth a look.
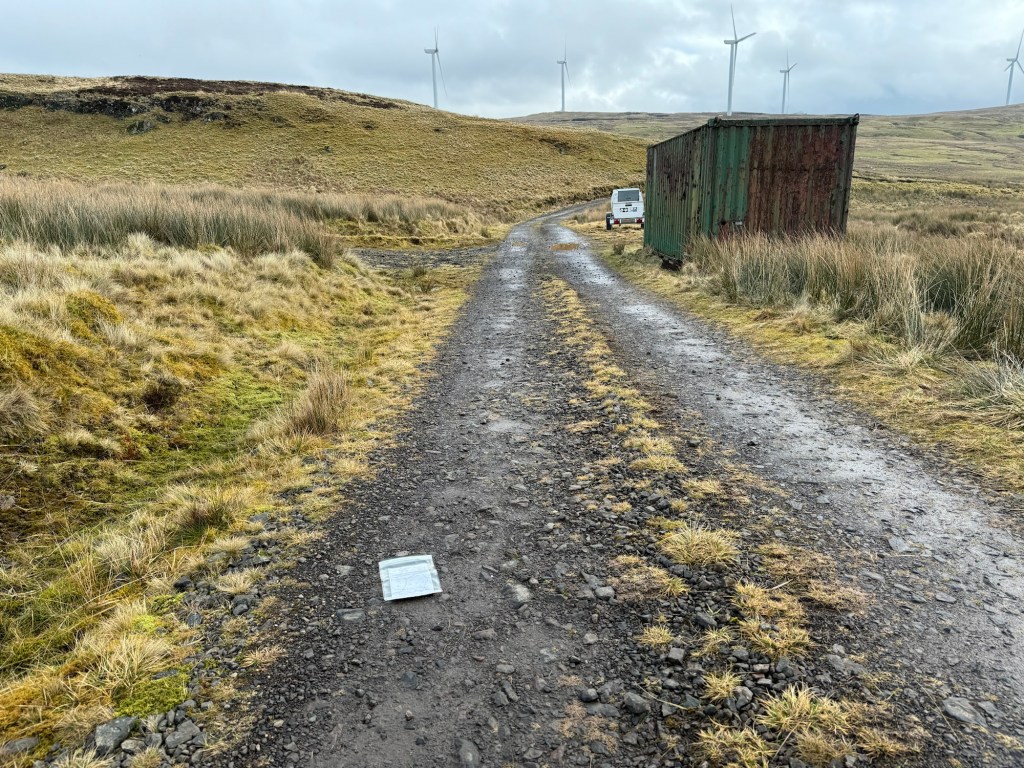
I had my own route in mind around Gourley’s Burn and I walked to a point on the track where I could start my navigation. Not on the corner of the grid square but a few hundred metres south of the SW corner. And this container was where I stopped, the map on the ground here marking my starting point.
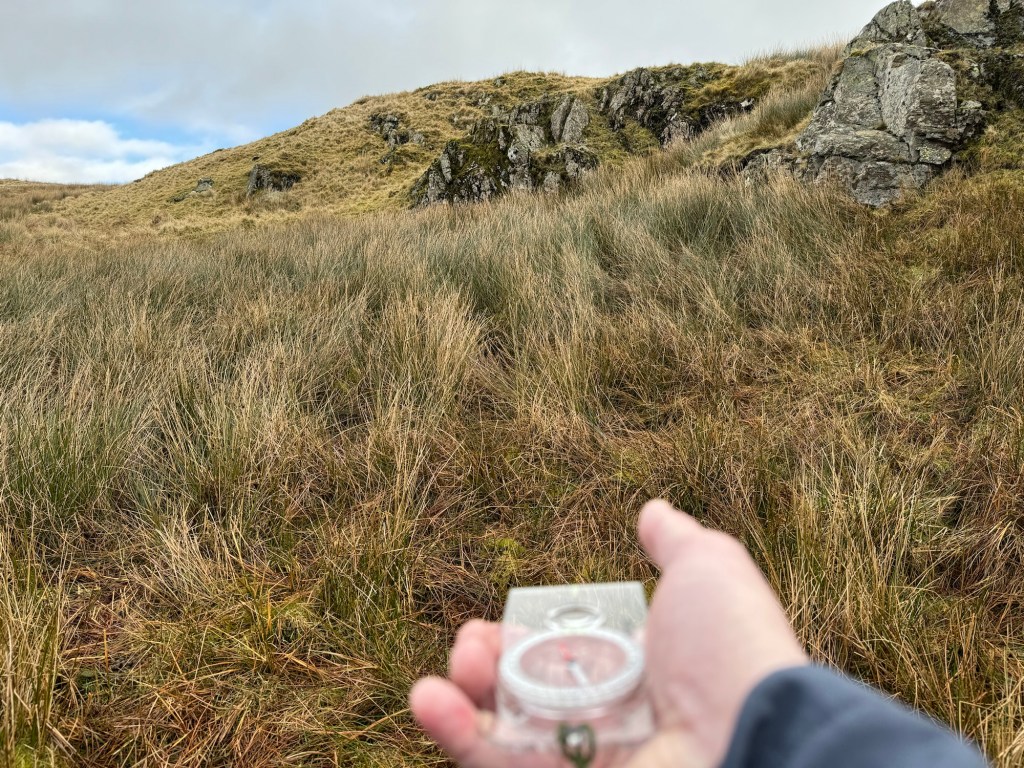
Almost immediately I neared what looked from a distance like the flat face of El Capitan (see picture below). I debated and doubted my choice of medium for the terrain. I’m definitely no climber. And as I got closer I could see it wasn’t as hard as I’d earlier thought, I wondered if there was any more of this kind of rock on my route. Checking the map again the contours at this spot were pretty close together but I decided that finding the easiest and quickest way round was best.
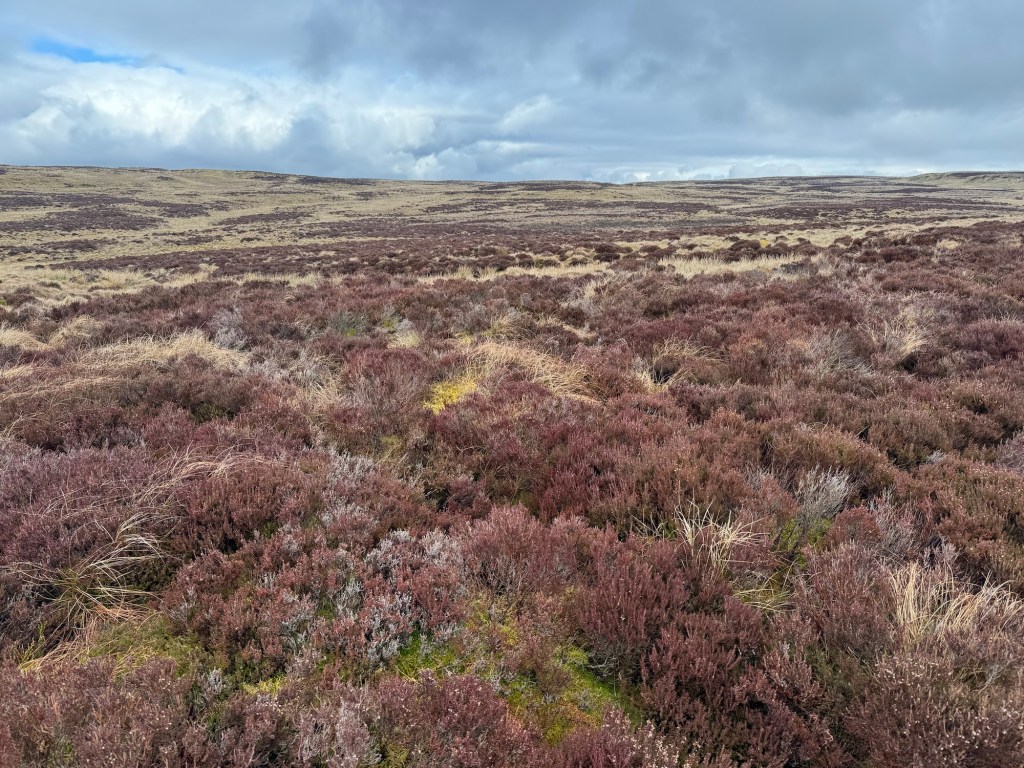
Leg two confirmed that the terrain was of medium difficulty. Tall grass. Heather. Big tussocky mounds up to my knees. The going definitely wasn’t easy and I ***might*** have tripped over my feet and the many natural obstacles a few times. No crags or rock though which I was pleased about.
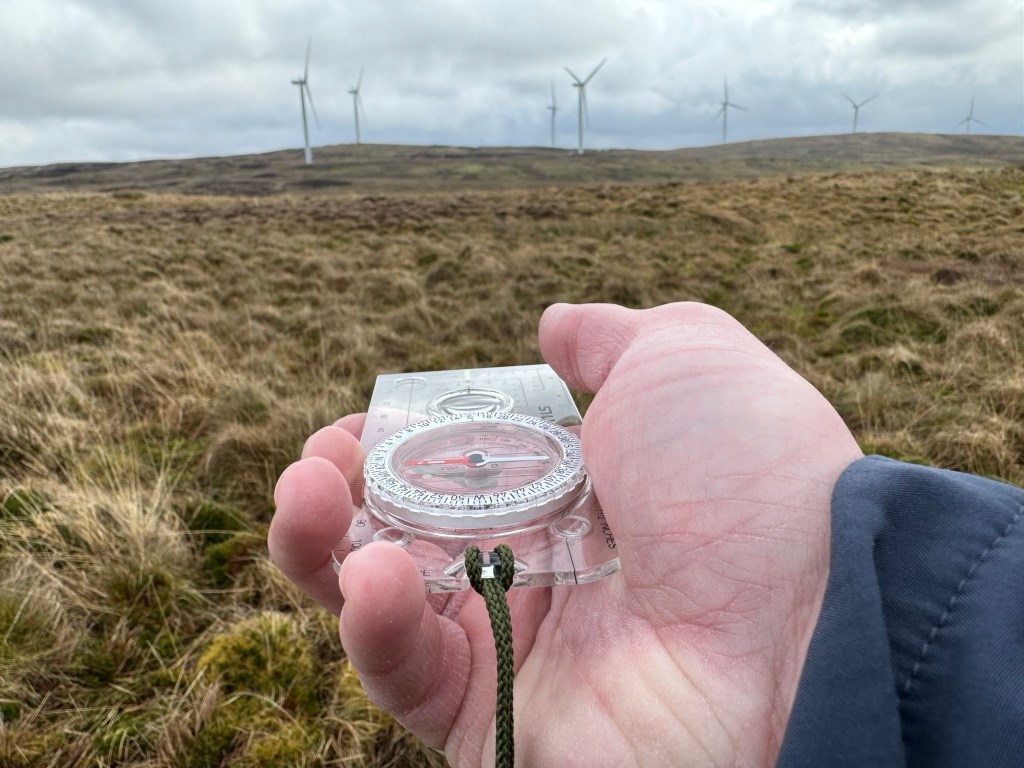
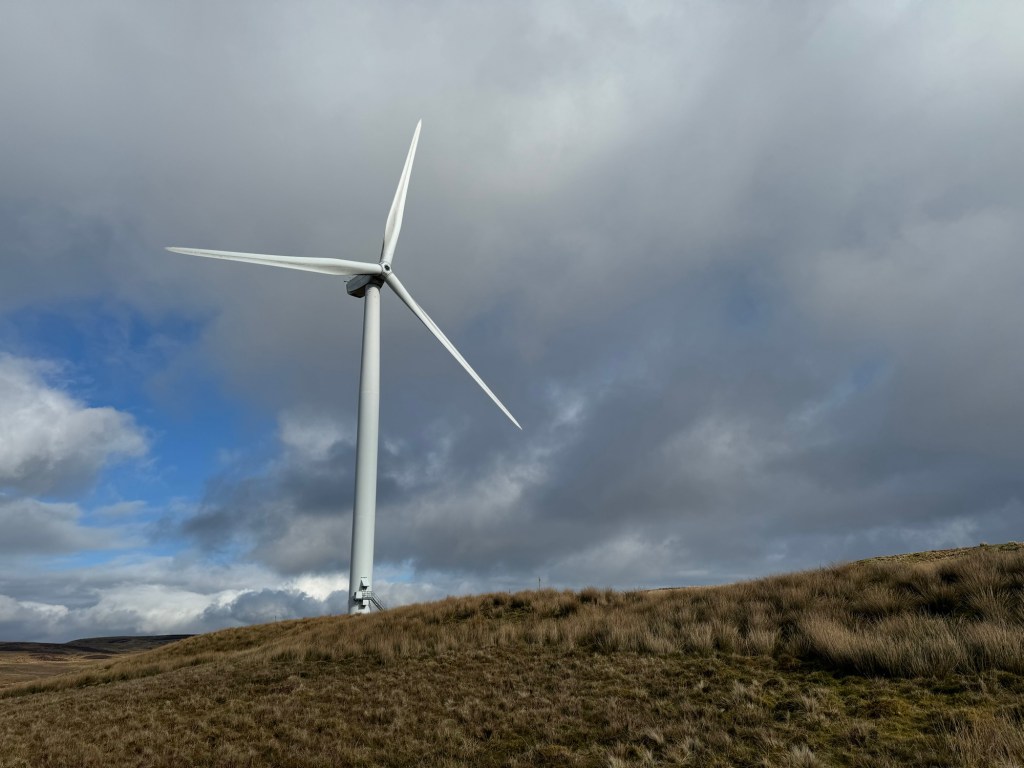
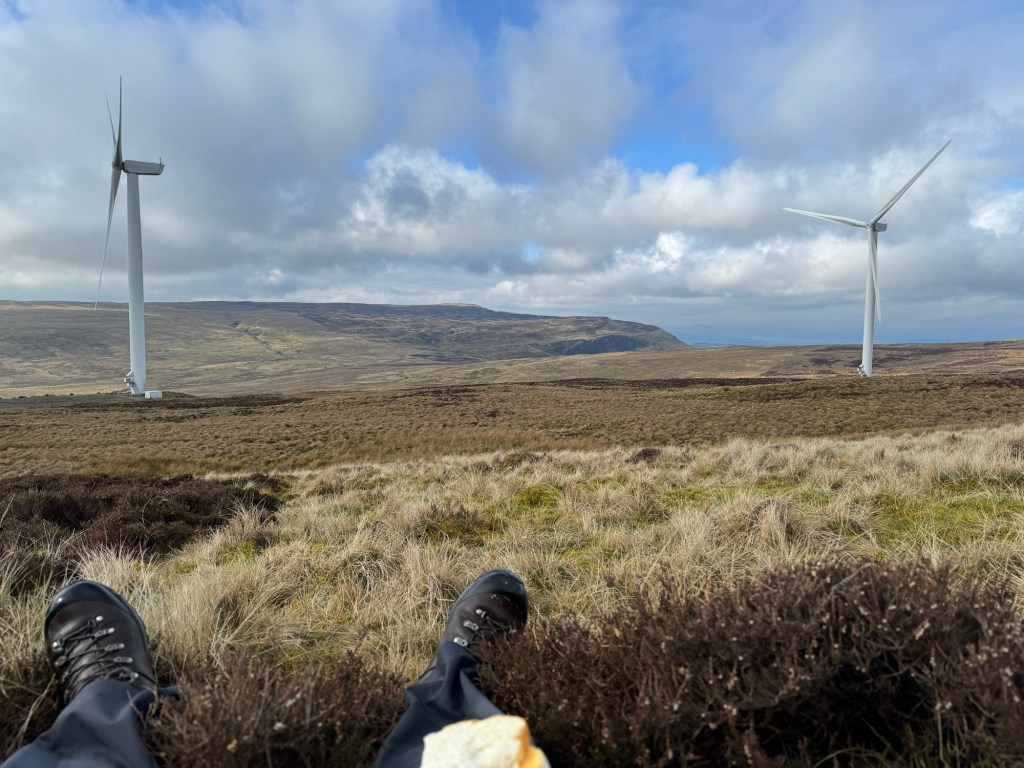
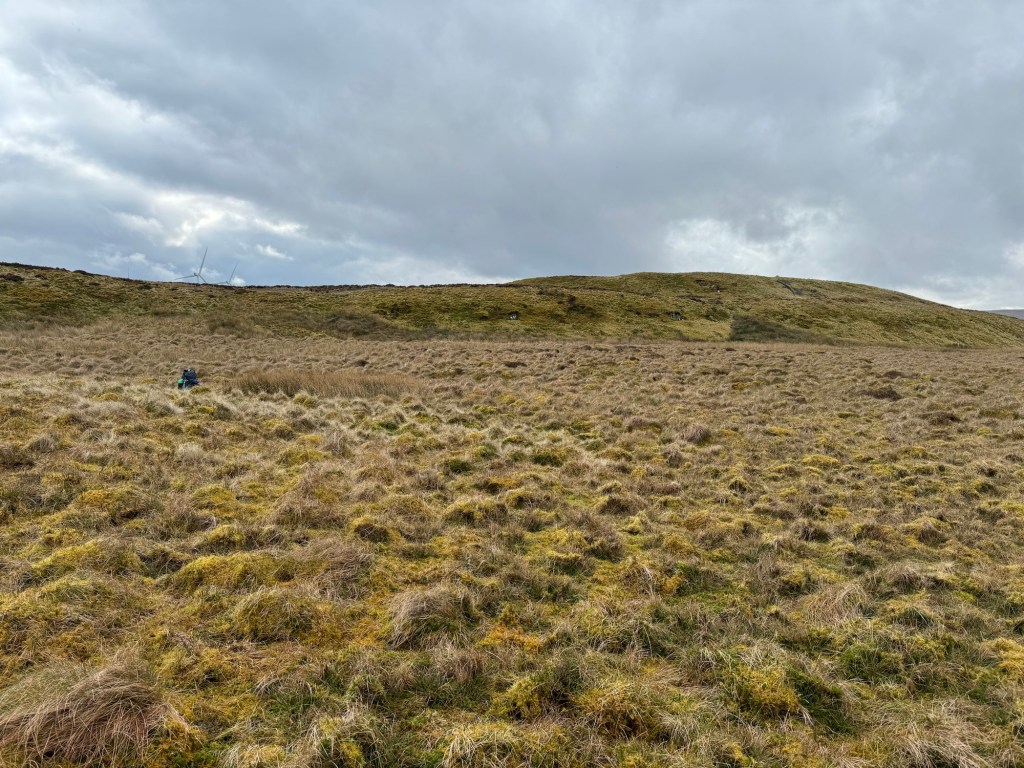
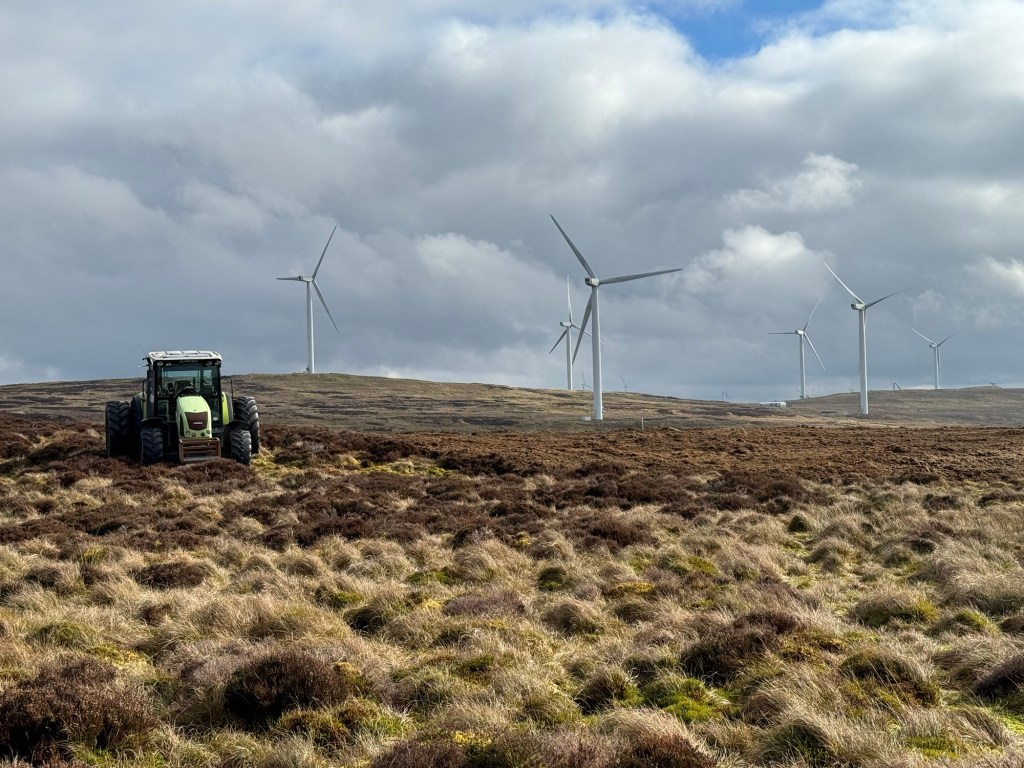
The metal trees toiled quietly in the background as I sat for lunch on the bounciest and softest outdoor cushion I can remember.
Leg three was hard going. Perhaps the tiredness from leg two or the fact that the natural obstacles were even more menacing. Either way this km was the toughest part of the square.
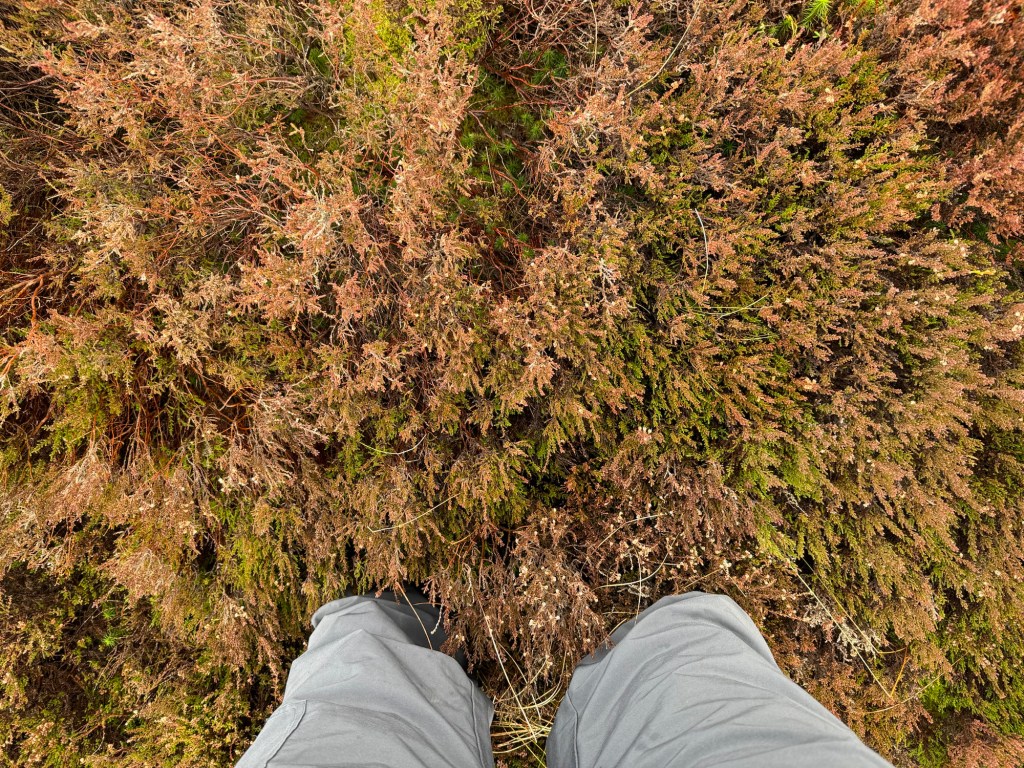
Where are my feet? Or my knees for that matter?
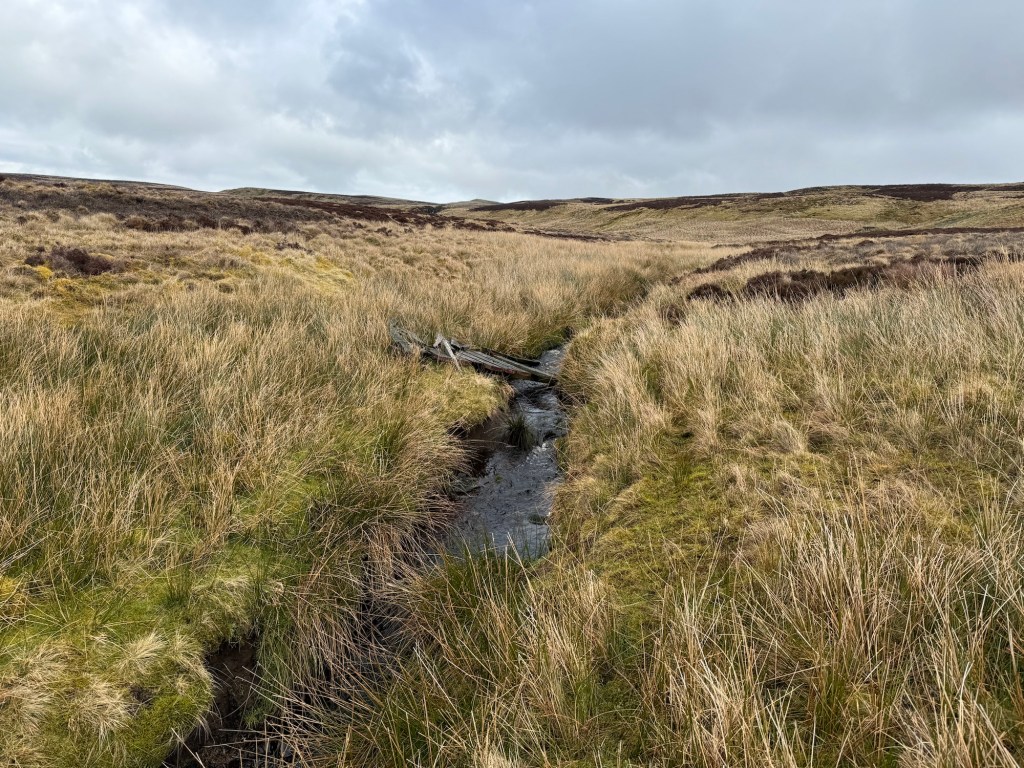
Crossing Gourley’s Burn.
After crossing the burn and reaching the end of leg three, I tested out the springiness of my surroundings and had a sandwich. Quite honestly this was the best natural mattress I think I’ve ever experienced.

Leg four was a tricky as leg three. My two legs were really feeling the exaggerated movements by this stage.
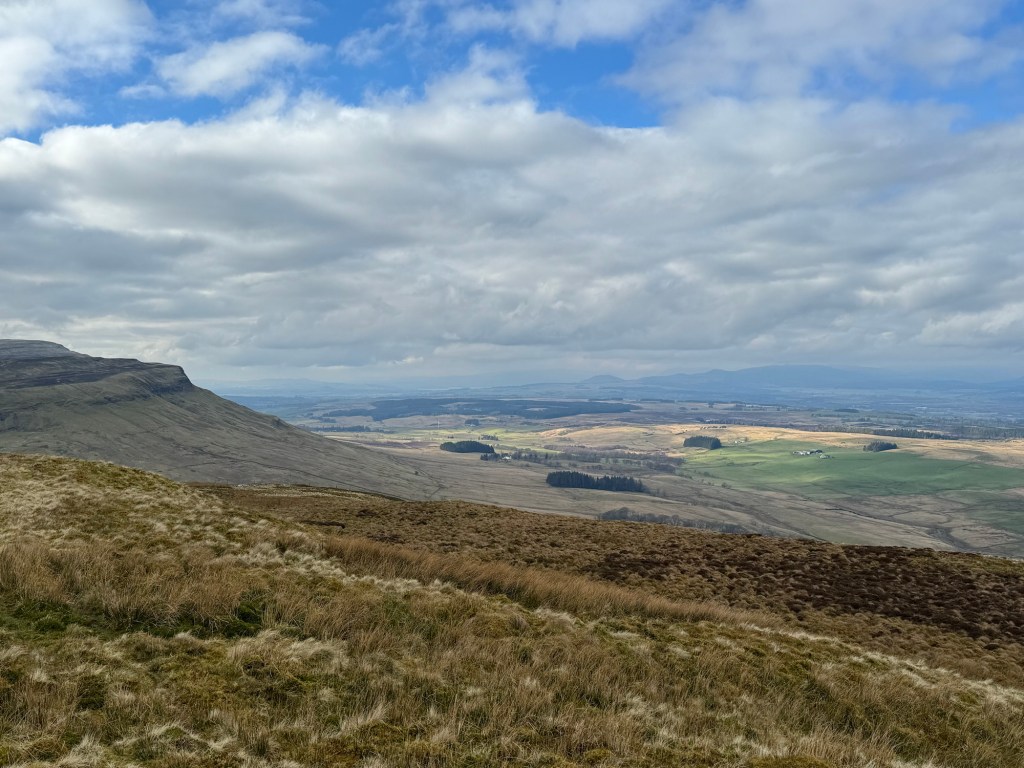
The bag marks the end of the leg. The views across Flanders Moss towards the southern highlands were worth the muscle stretch. I could see Ben Ledi and a host of other hills, partially hiding behind the low cloud.


Leg five was downhill. So in spite of the now expected bumps and tussocks, I knew this would probably be a quicker leg. Someone had left their tractor on the plateau. How forgetful.
As I completed the grid square I was on the approach to the container near I started at. Definitely not at the same point, but not too far off. So the big question is “how did I do?”
Here’s my track and stats.


Leg one featured the Gargunnock El Capitan and I may have overcompensated here when finding my way further along. I tried for the shortest route possible but I found the stepping here trickier as I was trying to keep my balance. I gave myself a few extra double steps to make up distance that I felt I should have travelled. But over such a short distance (about 250m) I added a few too many. Not too far away though. The hardest time to decide the terrain is at the start of the square and when I get moving it becomes clear pretty quickly whether I was right or not. Based on the steps used and the time taken here, I think it worked out ok.
Leg two started with the same question about terrain and although there was no obvious crags on the map or in my eye line, I could see the heather. And heather often is harder to manoeuvre though. And so it proved. Bumpier and full of giant holes. Timing and double steps were pretty accurate, especially over a longer distance like 1000m, which I was pleased about.
I assumed Leg three would be much the same. Tiredness and hunger started to affect me here but this was the hardest leg due to the terrain. Steps and time were out a bit here. I did fall a few times. Quite a few times. I also forgot my pacing beads today and may have miscounted although I can’t be sure and it’s more likely I just misjudged my steps, making them bigger than usual trying to avoid the giant bumps and holes, hence the overshoot.
Leg four was much the same and because I was off course for leg three, this was exacerbated during leg 4. My timing was out but steps were ok.
At the start of leg five I’d been invigorated by the views over the edge of the escarpment to the hills beyond. It was just after midday and the sun was out. And since I was heading due south I decided to sack the compass and try a little natural navigation and follow the sun. This was the quickest leg of the day for 1000m as I almost ran down the hill and with no need to keep checking my compass. Steps were pretty accurate too. You can also see the point half way down the line that I changed my aiming point from directly towards the sun to a little east of the sun, as time moved on.
My finishing point was probably about 70m or so from where I’d placed my map on the ground near the container at the start. After 4km of knee high bumps and heather traps I was happy enough.
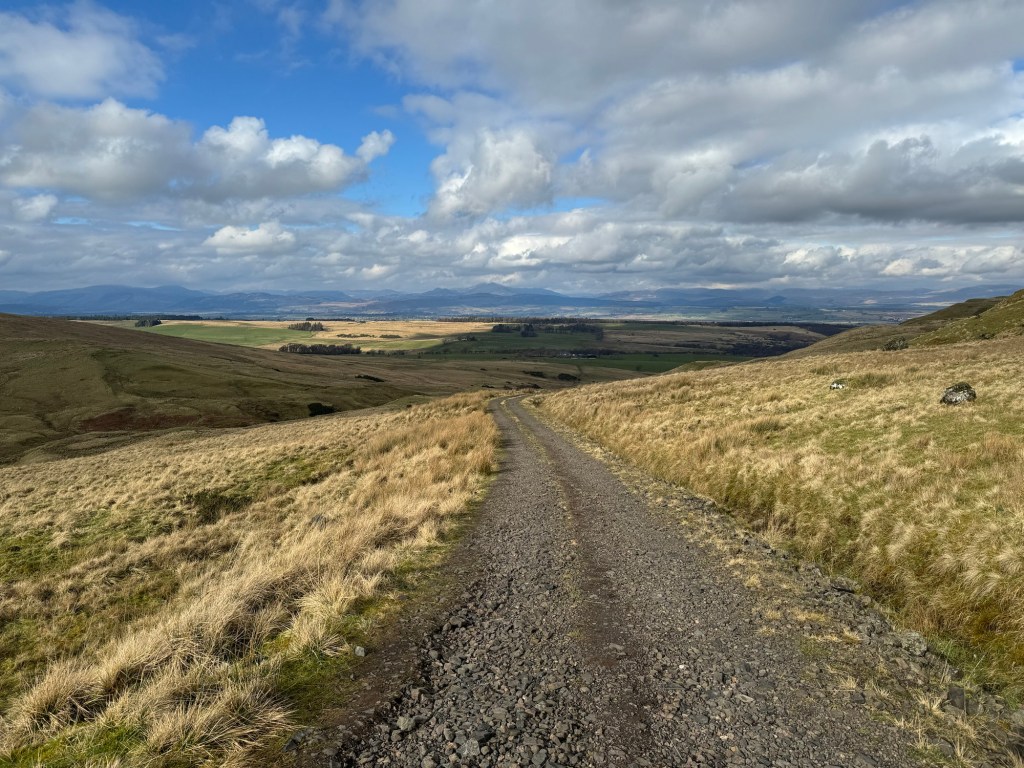
The track was welcome again as I walked back towards home.
When choosing a venue for a grid square journey, I’ve generally been quite cautious. Nothing too hilly or ridiculous in order to learn more about how I navigate and try to ensure my numbers are accurate. Even in the ten years since I first navigated properly, my numbers are higher. Must be an age thing I guess.
I’m aware I need to try some harder and more technical ground. And this may require a fifth ground stage beyond “hard”. I can see hard having more ascent and descent. And grade 5, whatever that might be called, more again. I’ll have a think about how I can develop my skills over harder ground and try to choose an appropriate spot for that for grid square journey number 7.

Your Thoughts?